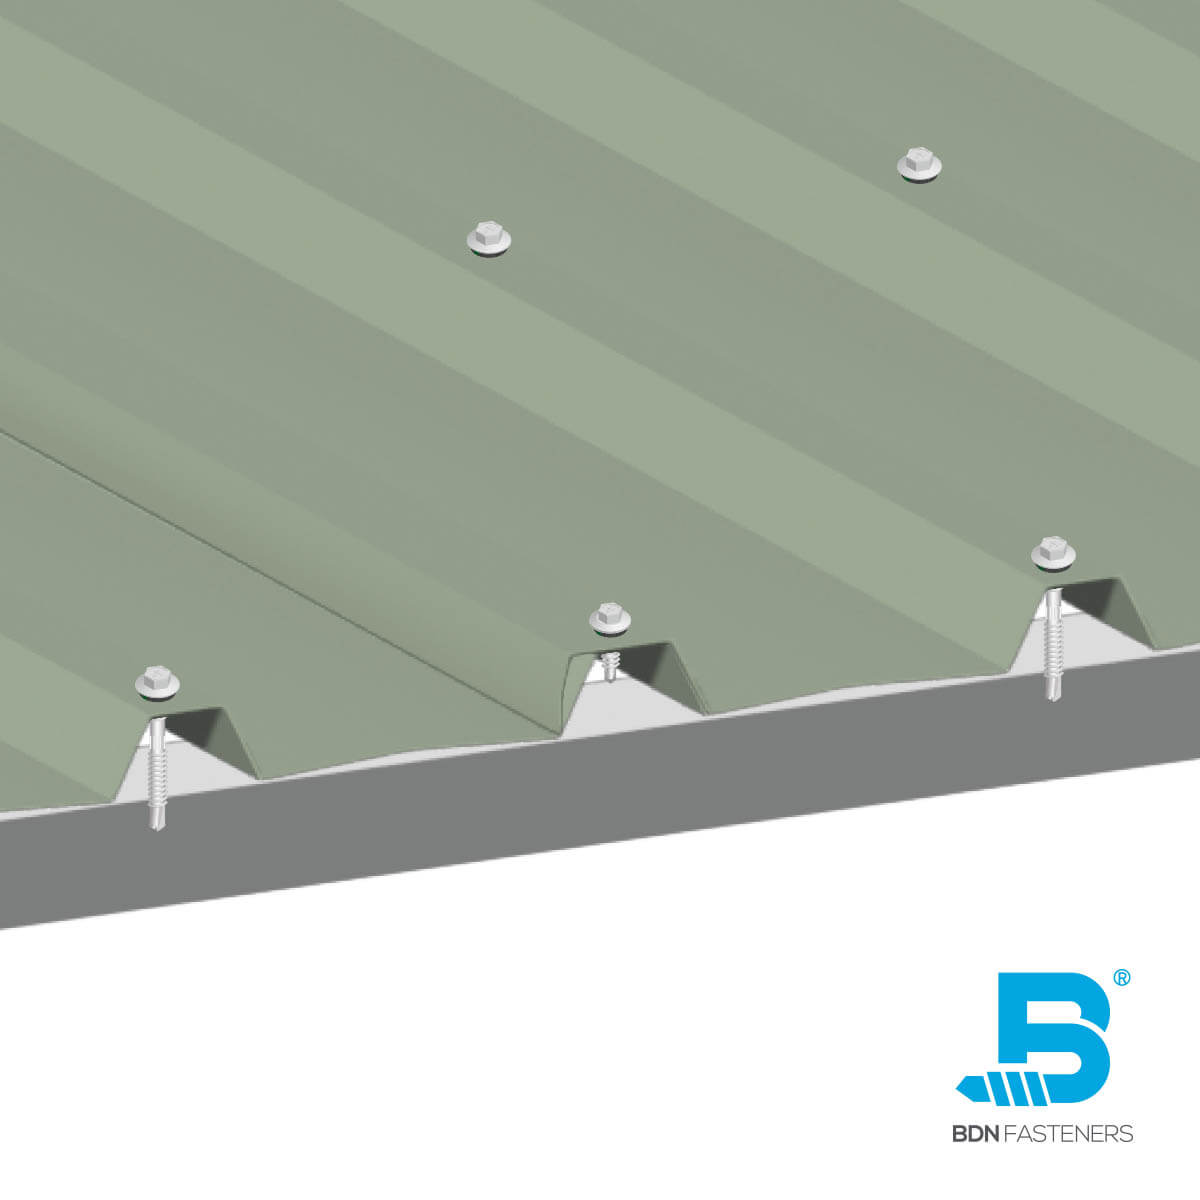
Have you ever stared at a sheet of metal roofing, drill in hand, only to freeze because you’re terrified of drilling into the wrong spot? It is a common anxiety for DIYers and even some new contractors, as one misplaced screw can lead to costly leaks down the road. Knowing exactly where do you put the screws on a metal roof is the single most critical factor in ensuring your roof remains watertight, durable, and aesthetically pleasing for decades.
In this guide, we will break down the science and best practices behind screw placement. We will move beyond guesswork and provide you with a clear, step-by-step framework that aligns with manufacturer specifications and industry standards across the United States. Whether you are installing corrugated panels or standing seam systems, getting this right starts with understanding the anatomy of your roof panel.
The Golden Rule: Flat vs. High Rib Placement
When discussing metal roofing, the type of panel determines the rule. However, for the vast majority of residential exposed-fastener roofs (like corrugated or R-panel), there is one golden rule: Always screw into the flat area, never the high rib.
Why the Flat Area?
You might think that screwing into the highest point (the rib) provides more structural support. While it does offer grip, it creates a significant vulnerability. When you drive a screw through the top of a rib, the rubber washer (neoprene seal) must compress over a curved surface. This often leads to:
- Incomplete Sealing: The washer cannot form a perfect circle around the curve, leaving micro-gaps for water entry.
- Oil Canning: As the metal expands and contracts with temperature changes, the screw head on the high rib can cause the metal to dimple or “oil can,” breaking the seal over time.
- Wind Uplift Damage: Screws on the high rib are more susceptible to being pulled out or damaged during high winds compared to those secured in the flat plane against the purlin.
By placing screws in the flat valley or the flat pan directly above the structural support (purlin or girt), the washer compresses evenly against a flat surface, creating a hermetic seal.
Expert Insight: According to general engineering principles regarding fastener mechanics, load distribution is most effective when the fastener is perpendicular to a flat surface. For more on structural fastening basics, you can refer to Wikipedia’s article on Fasteners to understand the mechanical importance of proper seating.
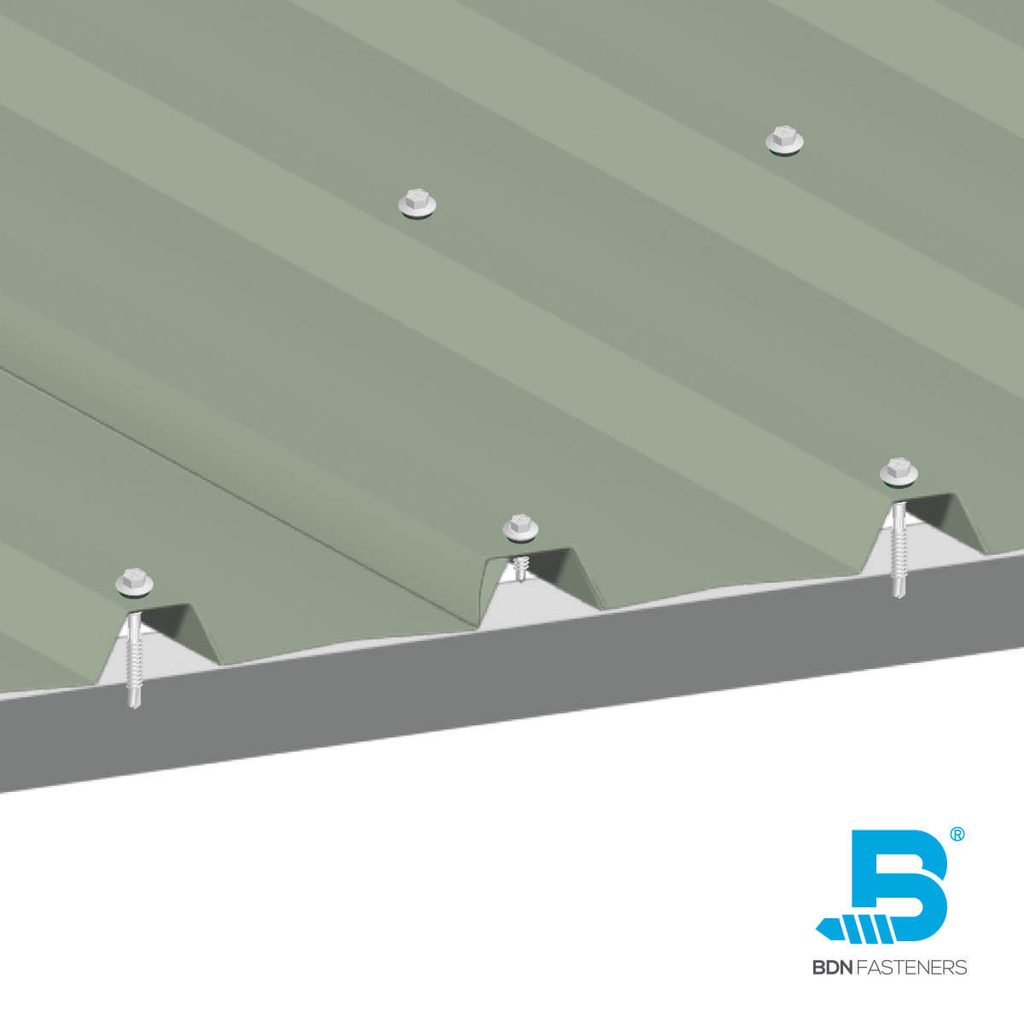
Step-by-Step Guide: Exact Screw Placement
To ensure you never ask “where do you put the screws on a metal roof” again, follow this precise workflow. This method applies primarily to corrugated and trapezoidal rib panels, which are common in the US market.
1. Identify the Structural Support
Before you even pick up your drill, you must know where your framing members (purlins) are located.
- Mark Your Lines: Use a chalk line to mark the center of every purlin across the entire roof deck.
- Why? You cannot screw into thin air. The screw must penetrate the metal panel and bite firmly into the wood or steel structure beneath. Missing the purlin means the screw has no holding power, leading to panel loosening during storms.
2. Determine the Side Lap
Metal panels overlap each other. This overlap is called the side lap.
- The Rule: Screws should generally be placed in the flat area of the panel, roughly 1 to 2 inches away from the side lap edge.
- Avoid the Edge: Do not place screws too close to the overlapping edge, as this can distort the metal and prevent the next panel from laying flat.
3. Drilling Technique
- Angle: Hold the drill perfectly perpendicular (90 degrees) to the roof surface. An angled screw will tear the neoprene washer and create a leak path.
- Speed: Use a low to medium speed. High speeds generate heat, which can burn the rubber washer before it seals, rendering it useless.
- Torque: Stop driving the screw as soon as the washer is compressed and slightly bulges out. Do not over-tighten. If the washer looks squashed flat or the metal dimples significantly, you have gone too far.
Spacing Guidelines: How Many Screws Per Panel?
One of the most frequent questions following placement is quantity. Using too few screws compromises wind resistance; using too many increases the risk of human error and leaks.
| Panel Type | Recommended Screw Spacing | Screws Per Sheet (Standard 8ft width) |
|---|---|---|
| Corrugated | Every 12–18 inches along purlins | 3–4 screws per purlin line |
| R-Panel / Trapezoidal | Every 12–24 inches along purlins | 2–3 screws per purlin line |
| Eave & Ridge | Every 6–12 inches (High Wind Zones) | Increased density at edges |
Note: Always check your specific local building codes. In hurricane-prone areas like Florida or the Gulf Coast, spacing requirements are often stricter.
The “End Lap” Consideration
Where panels overlap end-to-end (vertical overlap), you need additional fasteners.
- Place screws in the flat area near the overlap.
- Ensure the overlap is at least 6 inches for slopes less than 3:12, and 4 inches for steeper slopes.
- Use sealant tape or butyl rubber in the end lap for added security against capillary action (water wicking uphill).
Common Mistakes That Cause Leaks
Even when you know where do you put the screws on a metal roof, execution errors can ruin the installation. Here are the top three pitfalls to avoid:
- The “Starved” Washer: Failing to tighten the screw enough leaves the washer loose. Water will wiggle its way under the head.
- The “Crushed” Washer: Over-tightening splits the rubber or thins it out so much that it loses its memory (ability to bounce back). Once the metal expands in the sun, the seal breaks.
- Missing the Purlin: This is the most common DIY error. If you miss the frame, the screw spins freely. Never leave a missed hole open. Fill it immediately with a color-matched rivet or a specialized plug screw designed for metal repair.
Choosing the Right Screw: Not All Screws Are Equal
Placement is irrelevant if the hardware is inferior. For US climates, you must use:
- Material: Stainless steel or galvanized steel with a heavy-duty coating.
- Head Type: Hex-head wafer heads are standard as they allow for better torque control than Phillips heads.
- Washer: EPDM (Ethylene Propylene Diene Monomer) rubber washers are superior to standard neoprene for UV resistance and longevity. They last longer under the harsh American sun.
FAQ Section
1. Can I put screws in the high ribs of a metal roof?
Generally, no. For exposed fastener systems (like corrugated), screws should go in the flat valleys. Some specific architectural standing seam systems hide clips on the ribs, but these do not use penetrating screws through the top of the rib. Always follow the specific manufacturer’s instruction sheet for your panel profile.
2. What happens if I miss the purlin when screwing?
If you miss the structural support, the screw will not hold. Do not leave the hole empty. You should fill the hole with a waterproof sealant and install a larger diameter screw or a rivet specifically designed for patching metal roofing. Leaving it open guarantees a leak.
3. How tight should the screws be?
The screw should be tight enough that the rubber washer is compressed and forms a slight “doughnut” shape around the screw shaft. It should not be so tight that the washer is flattened completely or the metal panel is dimpled inward. A good rule of thumb is to stop when you feel significant resistance after the washer contacts the metal.
4. Do I need to pre-drill holes for metal roofing screws?
Most modern metal roofing screws are self-drilling (tek screws) and do not require pre-drilling for standard gauge steel (26–29 gauge). However, if you are working with thicker structural steel or aluminum, pre-drilling may be necessary to prevent thread stripping. Check the screw packaging specifications.
5. How often should I check my roof screws?
It is recommended to inspect your metal roof screws annually, preferably in the spring or fall. Look for loose screws, cracked washers, or rust streaks. Tighten any loose screws carefully, replacing any that have damaged washers.
Conclusion
Understanding where do you put the screws on a metal roof transforms a daunting DIY project into a manageable, professional-grade installation. By adhering to the principle of screwing into the flat areas over structural supports, maintaining proper torque, and using high-quality EPDM-washed screws, you ensure your roof withstands the elements for years to come.
Remember, patience is key. Rushing the placement leads to leaks, while precision leads to longevity. If you found this guide helpful, please share it with your fellow DIY enthusiasts on social media. A well-informed community builds better roofs!
Leave a Reply