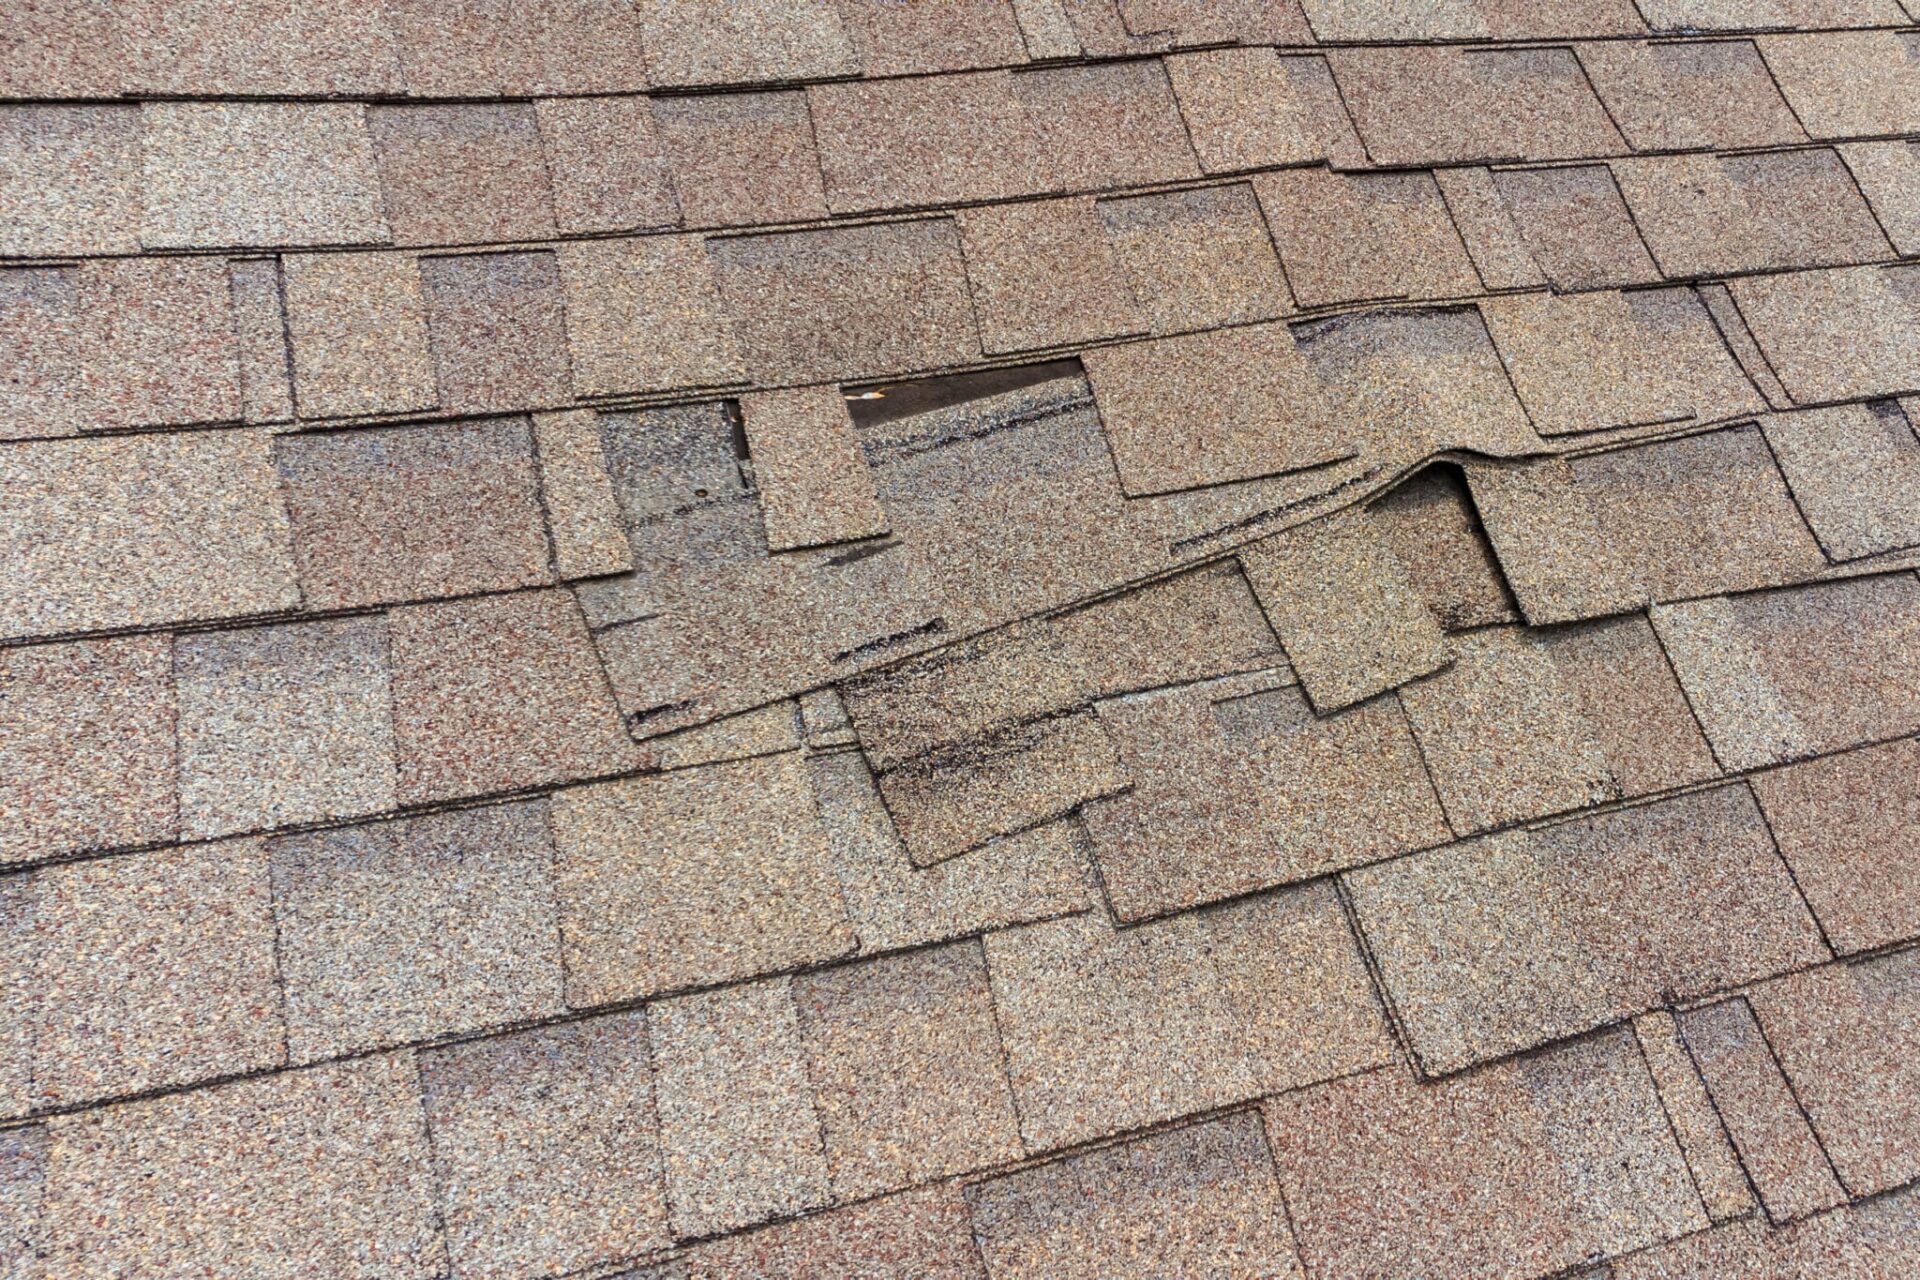
Discovering water in your home is a homeowner’s nightmare. The panic sets in immediately as you wonder about the extent of the damage and the cost of repairs. If you are asking yourself what to do if you think your roof is leaking, you are not alone, and staying calm is your first line of defense.
Water damage does not wait. It spreads quickly, compromising structural integrity, promoting mold growth, and ruining insulation. However, with the right approach, you can mitigate the damage before professional help arrives. This guide provides actionable, step-by-step instructions to handle a suspected roof leak safely and effectively.
1. How Do I Confirm It Is Actually a Roof Leak?
Before climbing ladders or calling contractors, you must verify the source. Not all ceiling stains come from the roof. Plumbing issues, condensation from HVAC systems, or even window seal failures can mimic roof leaks.
Check the Attic First
The attic is your best diagnostic tool. If you have accessible attic space, grab a flashlight and look for:
- Daylight: Can you see beams of light coming through the roof deck?
- Water Stains: Look for dark streaks or wet spots on the underside of the roof sheathing.
- Mold or Mildew: A musty smell or visible black/green growth indicates long-term moisture.
- Dripping Sounds: Listen carefully during rain. Sometimes the sound travels along rafters, so the drip location isn’t directly under the breach.
Rule Out Internal Sources
If it hasn’t rained recently but you still see water, check your plumbing. Run water in bathrooms and kitchens above the affected area. Check air conditioning drain lines; clogged condensate drains often overflow into ceilings, looking exactly like a roof leak.
Pro Tip: If the stain is yellowish-brown and has a “ring” pattern, it is likely an old leak that has dried. Fresh leaks usually appear darker and feel damp to the touch.
2. What Are the Immediate Safety Steps?
Your safety is more valuable than any piece of furniture. Water and electricity are a deadly combination. Before you attempt any containment measures, follow these critical safety protocols.
Cut the Power
If water is dripping near light fixtures, outlets, or electrical panels:
- Go to your main circuit breaker box.
- Turn off the power to the affected room or the entire house if you are unsure.
- Do not touch wet electrical switches or appliances.
Protect Your Belongings
Move furniture, electronics, and valuables away from the drip zone. If items are too heavy to move, cover them with waterproof tarps or heavy-duty plastic sheeting. Secure the plastic with tape to ensure no water seeps underneath.
Catch the Water
Place buckets, pots, or bins under active drips. To reduce the annoying “pinging” sound of water hitting metal, place a towel or sponge at the bottom of the bucket. This simple trick dampens the noise and reduces stress while you wait for help.
3. How Can I Minimize Water Damage Inside?
Once the immediate area is safe, focus on stopping the spread of water. Water wicks horizontally through drywall and insulation, meaning a small leak can cause damage far from the entry point.
Relieve Pressure in the Ceiling
If you notice a bulging or sagging ceiling, water is pooling behind the drywall. This is dangerous because the weight can cause the ceiling to collapse suddenly.
- Action: Take a screwdriver or pencil and gently poke a small hole in the center of the bulge.
- Result: This allows the water to drain into your bucket in a controlled manner, relieving pressure and saving the drywall from total destruction.
Dry the Area Quickly
Use fans and dehumidifiers to circulate air in the affected room. Open windows if the humidity outside is lower than inside. The goal is to dry out the structure within 24–48 hours to prevent mold spores from taking hold. According to the Environmental Protection Agency (EPA), mold can begin to grow within 24 to 48 hours after a water incident.
4. Should I Try to Fix the Roof Myself?
This depends on the severity of the leak and your comfort level with heights. For minor issues, temporary DIY fixes can buy you time. For major damage, professional intervention is non-negotiable.
Temporary DIY Fixes (For Minor Leaks)
If you can safely access the roof and identify the source, try these temporary measures:
- Roofing Tar/Cement: Apply roofing cement around the suspected crack or hole. Use a putty knife to spread it evenly.
- Tarping: If the leak is widespread, cover the affected area with a heavy-duty tarp. Secure the edges with wooden battens or rope tied to sturdy anchor points (like chimney bases or vent pipes). Never nail a tarp directly into shingles, as this creates new holes.
- Clear Debris: Sometimes, leaves and twigs trap water against the roof edge. Clearing gutters and roof valleys can resolve minor backing-up issues.
When to Call a Professional
Do not attempt DIY repairs if:
- The roof is steep (pitch greater than 6/12).
- The weather is windy or rainy (slippery surfaces).
- You cannot locate the source of the leak.
- There is significant structural damage (sagging rafters).
5. How Do I Find a Trustworthy Roofer?
Finding a reliable contractor is crucial to avoiding scams and poor workmanship. Here is a checklist for vetting roofing professionals:
| Criteria | Why It Matters |
|---|---|
| License & Insurance | Protects you from liability if a worker gets injured on your property. |
| Local References | Local companies understand regional weather patterns and building codes. |
| Written Estimate | Ensures transparency on costs for materials, labor, and disposal. |
| Warranty | Look for both manufacturer warranties (materials) and workmanship warranties (labor). |
Ask for at least three quotes. Be wary of door-to-door salesmen who offer “instant discounts” for signing immediately. Legitimate roofers will provide a detailed inspection report before quoting.
6. What Will the Insurance Claim Process Look Like?
Most homeowners insurance policies cover sudden and accidental water damage, but they may exclude wear and tear.
- Document Everything: Take clear photos and videos of the leak, the water damage, and any damaged personal property. Date-stamp these files.
- Mitigate Further Damage: Keep receipts for any materials you buy for emergency repairs (tarps, buckets, fans). Insurance often reimburses these “mitigation costs.”
- File the Claim Promptly: Contact your insurer as soon as possible. Delaying can lead to claim denials.
- Meet the Adjuster: Be present when the insurance adjuster visits. Point out all areas of concern and provide your documentation.
Note that if the leak is due to lack of maintenance (e.g., missing shingles you ignored for years), the claim might be denied. Regular maintenance records can help prove negligence was not a factor.
FAQ Section
Q: How much does it typically cost to fix a roof leak?
A: Costs vary widely based on the issue. Minor repairs like replacing a few shingles or sealing a vent flashings can cost between $150 and $400. Major repairs involving structural decking or large sections of roofing can range from $1,000 to $3,000 or more. A full roof replacement averages $5,000 to $15,000 depending on materials and size.
Q: Can a roof leak fix itself?
A: No. Water damage is progressive. While a leak might stop when the rain stops, the underlying damage—rotted wood, compromised insulation, and mold growth—continues to worsen. Ignoring it will always lead to higher repair costs later.
Q: How long can I leave a roof leak unrepaired?
A: You should not leave it unrepaired at all. Even a small drip can cause structural rot within months. Mold can start growing in 24–48 hours. Treat every leak as an emergency to protect your home’s value and your family’s health.
Q: Does homeowners insurance cover roof leaks?
A: It depends on the cause. Insurance typically covers leaks caused by “acts of God” like storms, hail, or falling trees. It generally does not cover leaks resulting from age, wear and tear, or lack of maintenance. Always review your specific policy details.
Q: What are the signs of a hidden roof leak?
A: Look for subtle signs such as peeling paint on interior walls, warped baseboards, unexplained musty odors, or increased energy bills (due to wet insulation losing effectiveness). Stains on the ceiling that expand after rain are also key indicators.
Conclusion
Knowing what to do if you think your roof is leaking can save you thousands of dollars and significant stress. Remember the core steps: prioritize safety, mitigate internal damage, document everything, and seek professional help for permanent repairs. Do not let a small drip turn into a catastrophic failure.
If you found this guide helpful, please share it with your friends and neighbors on social media. You never know who might need this lifesaving information during the next storm. Stay dry and stay safe!
Leave a Reply