Have you ever woken up to a mysterious water stain on your ceiling after a heavy snowstorm, wondering where the leak came from despite having a “new” roof? It is a frustrating and costly experience that many homeowners in colder climates face, often due to a missing or failed protective layer. Understanding what is an ice and water shield on a roof is the first step toward preventing these damaging leaks and ensuring your home stays dry and secure during harsh winter weather.
The Critical Role of Ice and Water Shield
When we talk about roofing, most people think immediately of shingles. Shingles are the visible armor of your home, designed to shed rain and snow. However, shingles alone are not enough to guarantee a watertight seal, especially in areas prone to freezing temperatures. This is where the ice and water shield comes into play.
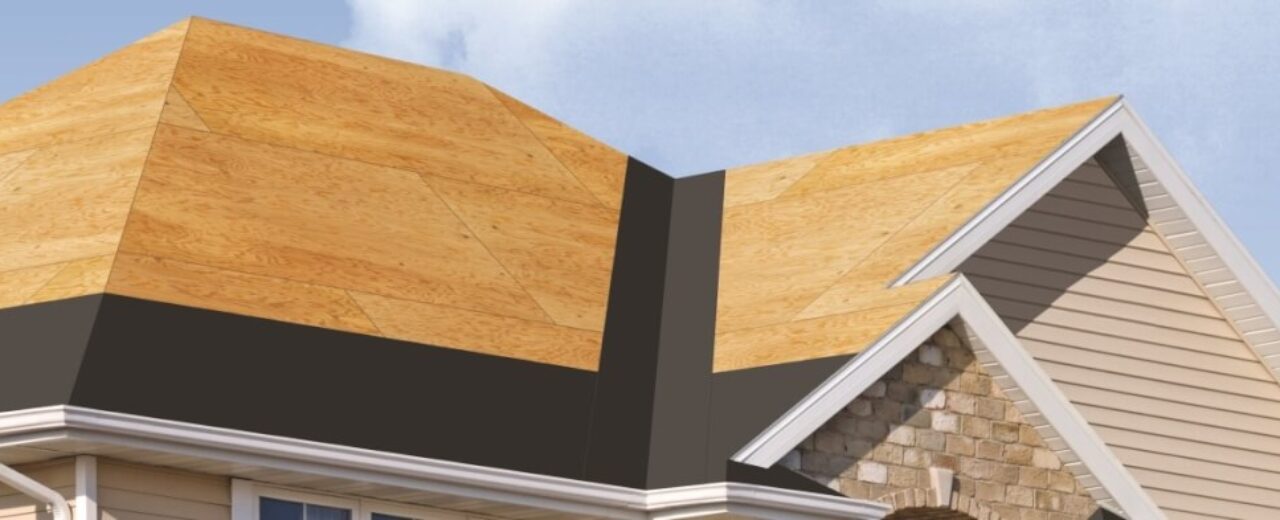
An ice and water shield is a self-adhering, rubberized asphalt membrane installed directly onto the roof deck (the wooden surface beneath the shingles). Unlike traditional felt underlayment, which is merely nailed down, this shield sticks aggressively to the wood. Its primary purpose is to create an impermeable barrier against water infiltration caused by ice dams and wind-driven rain.
According to industry standards, this material is essential in specific zones of your roof. While it can be used across the entire roof surface, building codes typically mandate its use in “vulnerable areas.” These include:
- Eaves (the edge of the roof)
- Valleys (where two roof slopes meet)
- Around chimneys and skylights
- Wall-to-roof intersections
The logic is simple: if water gets past your shingles, the shield stops it from rotting your wood decking and ruining your insulation.
Why Do You Need It? Understanding Ice Dams
To truly appreciate the value of this product, you must understand the enemy: ice dams.
An ice dam forms when heat escapes from your attic, warming the roof deck. This causes snow on the upper part of the roof to melt. As the water runs down toward the colder eaves (the overhang), it refreezes. Over time, this builds up a ridge of ice.
Here is the dangerous part: subsequent melting snow has nowhere to go. It backs up behind the ice ridge, seeping under the shingles. Without protection, this water soaks into the roof deck, leading to:
- Rotting plywood or OSB sheathing.
- Mold growth in the attic.
- Damaged drywall and paint inside your home.
- Compromised structural integrity over time.
A standard felt underlayment might slow this process, but it cannot stop it. Felt is porous and relies on gravity to shed water. When water is pushed upward by pressure from an ice dam, felt fails. An ice and water shield, however, seals around nail holes and adheres tightly, blocking that upward-moving water.
Ice and Water Shield vs. Traditional Felt Underlayment
Many homeowners ask if they can just use cheaper roofing felt instead. While felt has its place, it is not a substitute for a rubberized membrane in high-risk areas. Let’s look at the differences.
| Feature | Ice and Water Shield | Traditional Felt Underlayment |
|---|---|---|
| Material | Rubberized asphalt with polymer modifiers | Asphalt-saturated organic or fiberglass mat |
| Adhesion | Self-adhering (sticks to deck) | Mechanically fastened (nailed/stapled) |
| Water Resistance | Waterproof (impermeable) | Water-resistant (permeable) |
| Nail Sealing | Seals around nails automatically | Does not seal around nails |
| Best Use Case | Eaves, valleys, penetrations | Field of the roof (in mild climates) |
| Cost | Higher | Lower |
As you can see, the shield offers superior protection. The ability to seal around nails is a game-changer. Every time a roofer nails a shingle, they puncture the underlayment. With felt, those are potential entry points for water. With an ice and water shield, the rubberized material flows around the nail shaft, creating a watertight seal.
Where Should It Be Installed?
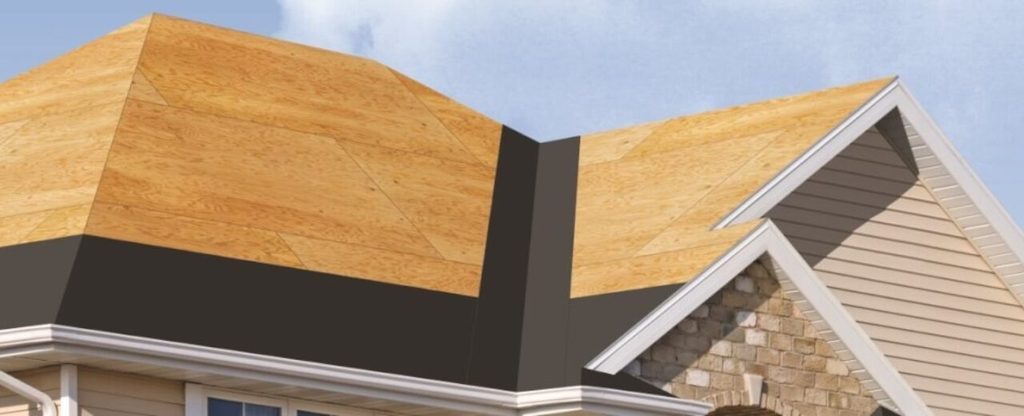
You do not necessarily need to cover your entire roof with ice and water shield, although doing so provides maximum protection. Most building codes in the United States, influenced by the International Residential Code (IRC), require it in specific zones.
1. The Eaves
This is the most critical area. Codes typically require the shield to extend from the edge of the roof inward to a point at least 24 inches inside the exterior wall line of the house. This covers the area where ice dams are most likely to form.
2. Roof Valleys
Valleys channel massive amounts of water. If debris blocks a valley, water can pool and seep under shingles. Installing the shield here provides a secondary line of defense.
3. Penetrations
Any object that pierces the roof plane is a leak risk. This includes:
- Chimneys
- Skylights
- Vent pipes
- Dormer walls
For more detailed technical definitions and historical context on roofing materials, you can refer to Wikipedia’s entry on Roofing.
How Is It Installed? A Step-by-Step Overview
While you should always hire a licensed professional for roofing work, understanding the process helps you verify that the job is done correctly.
- Preparation: The roof deck must be clean, dry, and free of protruding nails. Any old underlayment should be removed.
- Temperature Check: Ice and water shields require warmth to adhere properly. Most manufacturers recommend installation when the ambient temperature is above 40°F (4°C). If it is colder, the adhesive may not stick, requiring manual sealing or heating.
- Starting at the Eave: The first row is installed along the drip edge. It is crucial to align it straight.
- Overlapping: Subsequent rows must overlap the previous one. Typically, a 2-inch to 4-inch overlap is required, but you must check the specific manufacturer’s instructions.
- Pressing Down: Once placed, the membrane must be firmly pressed down to ensure full contact with the wood deck. Some roofers use a J-roller for this.
- Sealing Edges: In valleys and around penetrations, additional patches or sealants may be applied to ensure no gaps exist.
Common Myths About Ice and Water Shields
There is a lot of misinformation in the roofing industry. Let’s clear up a few common myths.
Myth 1: It prevents ice dams from forming. Fact: No. Ice and water shields do not stop ice dams. They only prevent the water from those dams from entering your home. To prevent ice dams, you need proper attic insulation and ventilation.
Myth 2: It lasts forever. Fact: While durable, these membranes are part of the roofing system. If you replace your shingles, you should inspect the shield. If it is brittle or damaged, it needs replacement.
Myth 3: All shields are the same. Fact: There are different grades. Some are designed for steep slopes, while others are for low-slope applications. Some have granulated surfaces for better traction during installation, while others are smooth. Always use the product specified by your shingle manufacturer to maintain warranty coverage.
FAQ Section
1. How long does an ice and water shield last?
Generally, an ice and water shield lasts as long as the shingles above it, typically 20 to 30 years. However, its effectiveness can degrade if exposed to UV light for extended periods before shingles are installed. It should be covered by shingles within a few days of installation.
2. Can I install it myself?
While it is physically possible, it is not recommended for DIYers. Roofing is dangerous, and improper installation (such as poor overlapping or installing in cold weather without proper adhesion techniques) can void warranties and lead to leaks. Professional installation ensures the seal is perfect.
3. Does it make the roof hotter?
No. The shield is installed beneath the shingles and does not significantly impact the thermal performance of the roof. In fact, by preventing moisture intrusion, it helps maintain the efficiency of your attic insulation.
4. Is it required by law?
In many US states with significant snowfall, yes. Building codes based on the IRC mandate its use in eaves and valleys. Even if not legally required in your area, it is a wise investment for any home in a climate that experiences freezing rain or snow.
5. What happens if I don’t use it?
Without it, your home is vulnerable to water damage from ice dams and wind-driven rain. This can lead to expensive repairs involving drywall replacement, mold remediation, and structural wood repair. The cost of the shield is a fraction of the cost of repairing water damage.
Conclusion
Understanding what is an ice and water shield on a roof is crucial for any homeowner who wants to protect their investment. It is not just an optional upgrade; it is a vital component of a modern roofing system, especially in regions with winter weather. By creating a watertight seal around nails and blocking back-up water from ice dams, it saves you from the headache and expense of interior water damage.
If you are planning a roof replacement or new construction, insist on high-quality ice and water shield in all vulnerable areas. Your future self—and your dry ceiling—will thank you.
Found this guide helpful? Share it with your friends and neighbors on social media to help them protect their homes too!
Leave a Reply