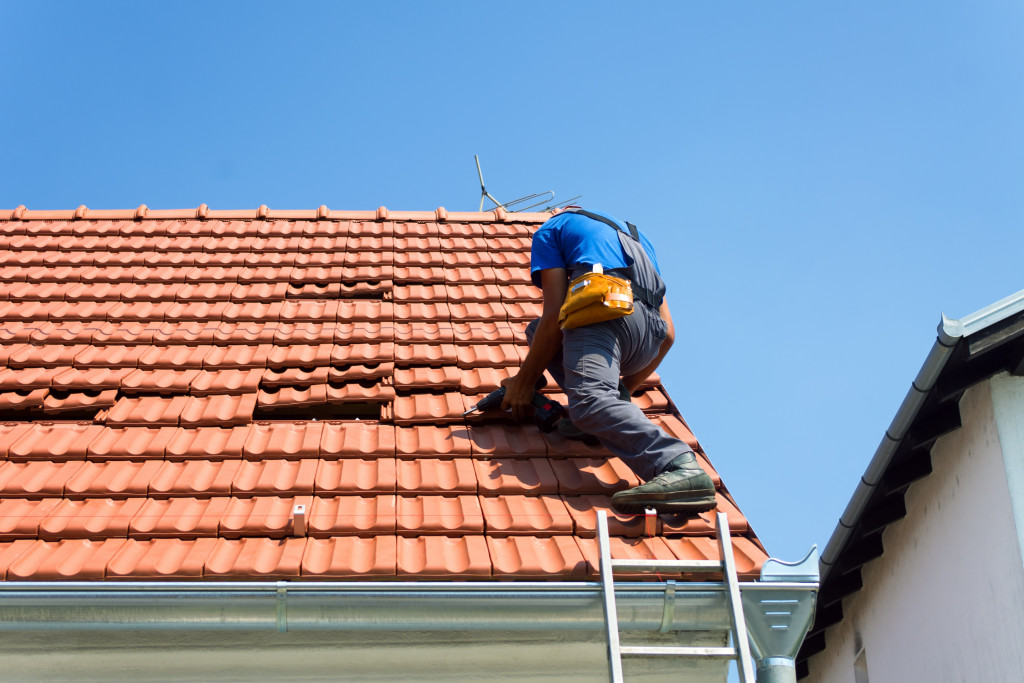
Have you looked up after a storm and noticed missing shingles or a suspicious leak? Dealing with home repairs is stressful enough without the added headache of navigating complex insurance policies. If you are wondering how to get insurance to pay for a new roof, you are not alone; thousands of homeowners face this challenge every year, often feeling overwhelmed by the bureaucracy.
The good news is that with the right preparation and knowledge, you can significantly increase your chances of a successful claim. This guide will walk you through the process, ensuring you understand your rights and the steps necessary to secure the funding you need for a safe, secure home.
Understanding When Insurance Covers Roof Replacement
Before filing a claim, it is crucial to understand why insurance companies approve or deny requests. Homeowners insurance is designed to cover “sudden and accidental” damage, not wear and tear.
Covered Perils vs. Exclusions
Most standard HO-3 policies (the most common type in the US) cover damage caused by specific events, known as perils. These typically include:
- Windstorms: High winds that lift or tear off shingles.
- Hail: Dents or cracks caused by hailstones.
- Fire and Lightning: Structural damage from burns or strikes.
- Falling Objects: Trees or branches falling onto the roof.
- Weight of Ice/Snow: Collapse due to heavy accumulation.
However, insurance will generally not cover damage resulting from:
- Neglect: Failure to maintain the roof.
- Age: Normal deterioration over time.
- Poor Installation: Errors made during the original roofing job.
According to the Insurance Information Institute, understanding your policy’s exclusions is the first step in managing expectations. If your roof is 20 years old and simply leaking due to age, a replacement is unlikely to be covered. However, if a storm accelerated that deterioration, you may have a case.
Step 1: Document the Damage Thoroughly
Evidence is everything in an insurance claim. Do not wait for the adjuster to arrive before gathering proof. The sooner you document the issue, the stronger your position will be.
What to Photograph and Record
- Exterior Shots: Take clear, high-resolution photos of the damage from multiple angles. Use a drone if possible, or take photos from a safe vantage point. Capture close-ups of missing shingles, dents, or cracks.
- Interior Signs: Photograph water stains on ceilings, walls, or around windows. These prove that the exterior damage is affecting the livability of your home.
- Date and Time: Ensure your camera settings include timestamps. This proves the damage occurred recently, ideally correlating with a specific weather event.
- Temporary Repairs: If you had to put up a tarp to prevent further water intrusion, photograph this too. Keep receipts for any materials purchased for these emergency fixes.
Pro Tip: Create a digital folder specifically for this claim. Back up all photos to cloud storage immediately to prevent data loss.
Step 2: Review Your Policy Details
Not all roofs are treated equally. Your payout depends heavily on the type of coverage you selected when purchasing your policy.
ACV vs. RCV: Know the Difference
| Feature | Actual Cash Value (ACV) | Replacement Cost Value (RCV) |
|---|---|---|
| Definition | Pays the current value of the roof minus depreciation. | Pays the full cost to replace the roof with similar materials. |
| Depreciation | Significant deduction based on age and condition. | No depreciation deducted initially. |
| Payout Timing | Single payment (lower amount). | Two payments: Initial deposit + recoverable depreciation after work is done. |
| Best For | Older roofs where full replacement isn’t feasible. | Newer roofs or those wanting full restoration. |
If you have an ACV policy, the insurance company will calculate the value of your roof based on its age. For example, if your roof has a 20-year lifespan and is 10 years old, they may only cover 50% of the replacement cost. With RCV, you get the full amount needed to replace it, provided you complete the repairs.
Step 3: Hire a Reputable Roofing Contractor
One of the most critical mistakes homeowners make is relying solely on the insurance adjuster’s assessment. Insurance adjusters work for the insurance company, not for you. Their goal is to minimize costs.
Why You Need Your Own Estimate
A licensed roofing contractor can provide an independent assessment of the damage. They can identify issues that an adjuster might miss, such as underlying deck damage or compromised flashing.
- Get Multiple Quotes: Aim for at least three detailed estimates.
- Check Credentials: Ensure the contractor is licensed, insured, and has good reviews in your local area.
- Avoid “Storm Chasers”: Be wary of out-of-state contractors who appear immediately after a storm. They often lack local accountability and may perform subpar work.
Your contractor can also meet with the insurance adjuster during the inspection. Having a professional present ensures that all damage is noted and discussed in real-time.
Step 4: File the Claim and Meet the Adjuster
Once you have your documentation and contractor estimates, it is time to file the claim. Call your insurance provider and provide them with the date of loss and a brief description of the damage.
The Adjuster Inspection
The insurance company will send an adjuster to inspect your property. Here is how to handle this meeting:
- Be Present: Always be home during the inspection. Walk the property with the adjuster.
- Point Out Damage: Show them the photos you took and point out specific areas of concern.
- Provide Your Contractor’s Report: Hand over the estimate from your roofer. This serves as a benchmark for the adjuster’s own estimate.
- Stay Calm and Factual: Avoid emotional arguments. Stick to the facts and the physical evidence.
If the adjuster denies the claim or offers a lowball settlement, do not accept it immediately. You have the right to dispute the decision.
Step 5: Negotiate the Settlement
It is common for the initial offer to be lower than expected. This is where your preparation pays off.
How to Counter a Low Offer
- Request a Detailed Breakdown: Ask for the line-item estimate the adjuster used. Compare it with your contractor’s quote. Look for missing items, such as underlayment, flashing, or waste factors.
- Submit Supplemental Claims: If you find discrepancies, submit a supplemental claim with photos and contractor notes explaining why additional funds are needed.
- Invoke Appraisal Clause: If you cannot agree on the amount, most policies have an appraisal clause. This involves hiring an independent appraiser to resolve the dispute. Note that this can be costly, so use it as a last resort.
Remember, negotiation is a standard part of the process. Insurance companies expect some pushback. Being polite but persistent is key to getting a fair settlement.
FAQ Section
1. Will my insurance premiums go up after a roof claim?
Yes, in most cases, filing a claim can lead to higher premiums. However, this varies by state and insurer. Some states prohibit rate hikes for first-time weather-related claims. It is wise to ask your agent about potential rate impacts before filing.
2. Can I choose my own roofing contractor?
Absolutely. Your insurance company cannot force you to use their preferred vendor. You have the right to hire any licensed contractor you trust. Just ensure they are willing to work within the insurance guidelines for billing.
3. What if my roof is old and the insurance says it’s just wear and tear?
If the denial is based on age, it is difficult to overturn. However, if you can prove that a specific storm event caused new damage beyond normal wear, you may still get partial coverage. A professional roofing inspection report is essential here to distinguish between age-related issues and storm damage.
4. How long do I have to file a roof insurance claim?
Most policies require you to file “promptly,” but there is no universal federal deadline. State laws vary, but generally, you should file within one year of the damage. Delaying too long can give the insurer grounds to deny the claim due to lack of evidence.
5. What is “recoverable depreciation”?
If you have an RCV policy, the insurer initially pays the Actual Cash Value (depreciated amount). Once you complete the repairs and provide proof (invoices/receipts), they release the remaining balance, known as recoverable depreciation. This ensures the money is used for repairs.
Conclusion
Learning how to get insurance to pay for a new roof requires patience, documentation, and assertiveness. By understanding your policy, documenting damage thoroughly, and leveraging professional help from reputable contractors, you can navigate the claims process successfully.
Remember, you are not just asking for a favor; you are claiming what you are entitled to under your contract. Stay organized, keep records of every communication, and do not hesitate to negotiate for a fair settlement.
If you found this guide helpful, please share it on social media to help other homeowners navigate their insurance challenges. A well-informed community is better equipped to protect their homes and finances.
Leave a Reply