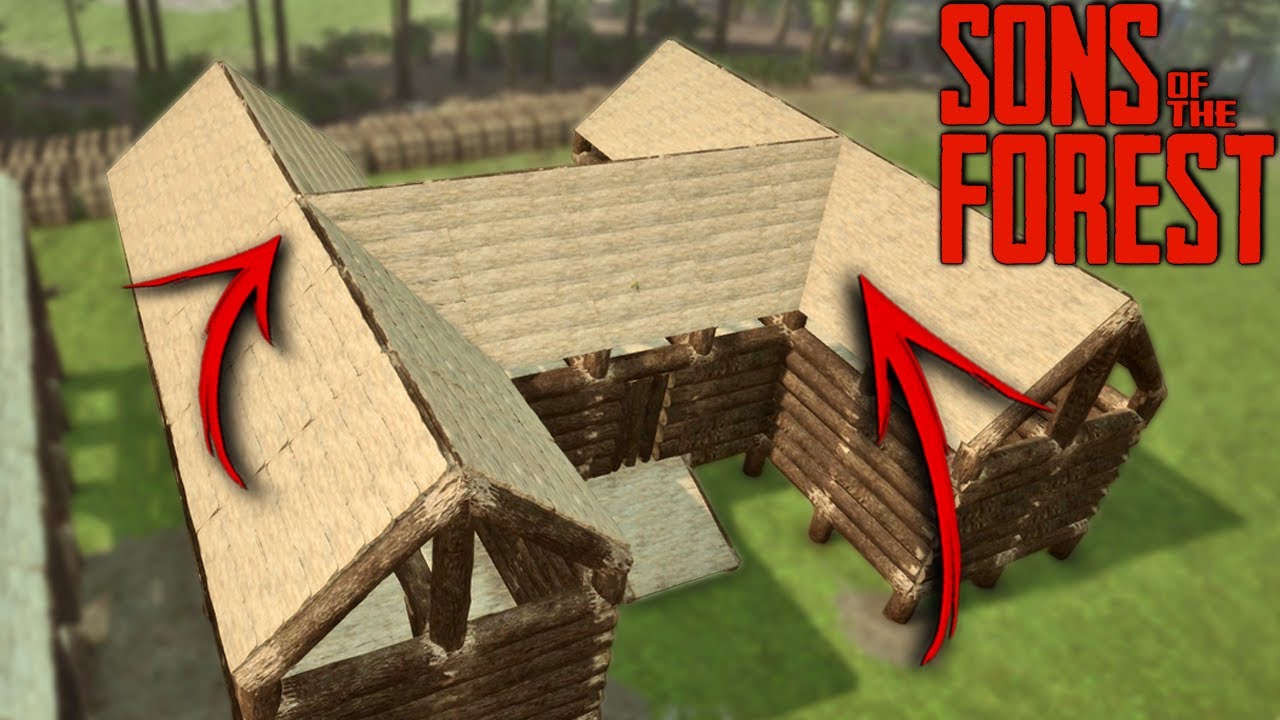
Staying dry in the dense, unforgiving forests of Site 2 is not just about comfort; it is a matter of survival. If you have ever watched your character shiver through a storm or struggled to keep your sanity meter high during heavy rainfall, you know that protection from the elements is critical. This guide will show you precisely how to make a roof in Sons of the Forest, ensuring your base remains a safe haven against both the weather and the cannibals lurking in the shadows.
Building in Sons of the Forest (SOTF) has evolved significantly from its predecessor, The Forest. The new structural integrity system and the addition of specific roofing components mean that slapping logs together no longer guarantees a waterproof home. You need precision, the right materials, and an understanding of the game’s physics engine. Whether you are a solo survivor or playing co-op with friends, mastering roofing mechanics is essential for long-term survival.
Understanding the Basics of Structural Integrity
Before we dive into the specific steps of placing logs and planks, it is crucial to understand why roofs collapse or fail to provide coverage. In Sons of the Forest, every structure has a “structural integrity” value. If a roof is not properly supported by walls or pillars, it will crumble under its own weight or break when enemies attack it.
Unlike simple crafting games where items appear instantly, SOTF requires you to physically place each component. This adds a layer of realism but also complexity. A common mistake beginners make is trying to build a wide roof without adequate central support. According to general engineering principles applied in game physics, the wider the span, the more support beams are required to prevent sagging or collapse.
For a deeper understanding of how survival games simulate physical structures, you can refer to the general concepts of Structural engineering which, while real-world focused, mirrors the logic developers use to create realistic building mechanics in sandbox games.
Step-by-Step: How to Make a Basic Log Roof
The most common and resource-efficient way to start is by building a simple log cabin-style roof. This method uses resources found abundantly in the early game: sticks and logs.
Step 1: Prepare Your Foundation
Ensure your walls are complete and stable. A roof cannot float; it must rest on top of vertical supports. If you are using the basic log wall blueprint, ensure the top layer of logs is fully placed. Gaps in the wall top will prevent the roof logs from locking into place correctly.
Step 2: Select the Right Blueprint
Open your survival guide (press G on PC). Navigate to the “Shelter” or “Structure” tab. Look for the Basic Roof or Log Roof option. Note that there are different shapes: flat, sloped, and peaked. For beginners, a sloped single-pitch roof is the easiest to manage.
Step 3: Place the Ridge Beam
If you are building a peaked roof, you first need a ridge beam. This is the horizontal log that runs along the highest point of the roof.
- Equip your axe.
- Hold a log in your hands.
- Aim at the top center of your structure where the two sides of the roof will meet.
- Wait for the green holographic outline to appear, indicating valid placement.
- Click to place the log. You may need to stack multiple logs end-to-end if your building is long.
Step 4: Add the Rafters
Once the ridge is set, you need rafters—the diagonal logs that slope down from the ridge to the walls.
- Stand on the edge of your wall.
- Hold a log and aim diagonally upward toward the ridge beam.
- Align the ghost image until it snaps into place.
- Repeat this process every 1–2 meters along the length of the building. Consistency is key; uneven spacing can cause texture clipping issues later.
Step 5: Fill in the Gaps
After the frame (ridge and rafters) is complete, you need to fill the spaces between them to make the roof solid.
- Use smaller logs or planks depending on the blueprint requirement.
- Place them horizontally across the rafters.
- Ensure there are no visible gaps from the inside. Rain in SOTF can sometimes penetrate small visual holes, keeping your character wet.
Advanced Roofing: Using Planks and Tarps
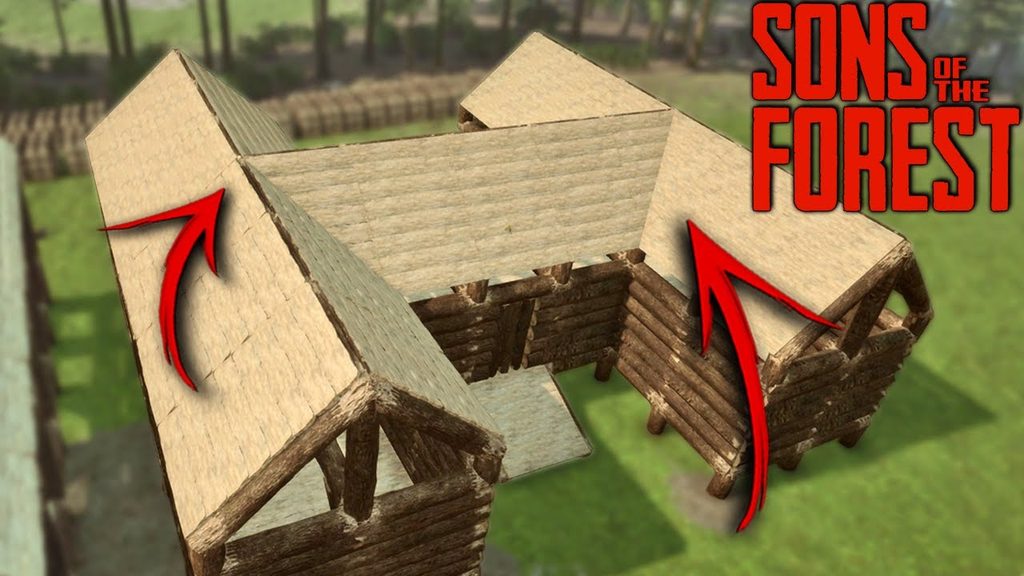
As you progress, you will unlock more sophisticated building options. Using planks creates a smoother, more aesthetically pleasing roof that offers better protection against aggressive mutants who might try to climb over jagged log edges.
The Plank Roof Advantage
Plank roofs require you to have built a Sawmill or found pre-cut planks in bunkers. They are lighter than full logs, allowing for wider spans without as many support pillars.
- Pros: Sleek look, easier to walk on, less resource-heavy per square meter.
- Cons: Requires advanced tools (Sawmill), weaker against heavy blunt attacks compared to thick logs.
Using Tarps for Quick Shelter
If you are on the move and need immediate protection from rain to restore stamina or sanity, tarps are your best friend.
- Craft a Tarp using cloth and rope.
- Find two trees close together or build two vertical poles.
- Attach the tarp corners to the supports.
- While not a permanent “roof,” this stops rain effectively and is vital for early-game survival.
Common Roofing Mistakes to Avoid
Even experienced builders run into issues. Here are the most frequent pitfalls and how to avoid them.
| Mistake | Consequence | Solution |
|---|---|---|
| Overhanging Edges | Cannibals can climb up the side | Keep eaves short or add spikes |
| Missing Ridge Support | Roof collapses inward | Always secure the top beam first |
| Ignoring Slope | Water pooling (visual bug) | Ensure a minimum 15-degree angle |
| Using Wrong Logs | Structure instability | Use consistent log sizes for framing |
Dealing with Glitches
Sometimes, the game’s physics engine may cause a roof to shake or fall after placement. This is often due to “load bearing” errors. If this happens:
- Do not panic.
- Check if any supporting wall logs are missing.
- Try adding a vertical pillar in the center of the room for extra support.
- Save and reload the game if the glitch persists, as this often resets the physics calculation.
Optimizing Your Roof for Defense
A roof is not just about rain; it is your first line of defense against aerial threats and climbing enemies. Mutants in Sons of the Forest are agile. Some can scale vertical walls, but they struggle with steep, smooth overhangs.
Consider adding defensive spikes to the exterior of your roof. While primarily for ground defense, placing spikes on lower roof sections can deter enemies from using your roof as a vantage point to jump into your base. Additionally, a solid roof blocks line-of-sight from mutants patrolling nearby towers, keeping your base hidden.
FAQ Section
1. Why does my roof keep collapsing in Sons of the Forest?
Your roof is likely collapsing due to a lack of structural support. Ensure that your walls are fully completed and that you have placed a ridge beam before adding rafters. If the span is too wide, add a central pillar or beam to share the load.
2. Can I walk on the roof in Sons of the Forest?
Yes, you can walk on most completed roofs, especially those made of planks or tightly packed logs. However, be cautious on steep slopes or incomplete structures, as you may slide off or trigger a collapse if the integrity is low.
3. Do I need a specific tool to build a roof?
You do not need a specific tool like a hammer to place the initial logs, but having an axe is essential for gathering materials. For plank roofs, you will need a Sawmill to process logs into planks. The building mechanic itself is handled through the survival guide menu and manual placement.
4. How do I stop rain from coming through my roof?
If rain is leaking through, check for visual gaps between your logs. In Sons of the Forest, the collision detection for rain is tied to the visual model. Ensure your logs are snapped together tightly. Using planks instead of round logs often provides a more watertight seal.
5. What is the best roof shape for beginners?
The single-slope (shed) roof is the best for beginners. It requires only one ridge attachment point and simpler geometry. It is easier to align and less prone to physics glitches compared to complex multi-peaked roofs.
6. Does the roof affect my sanity?
Indirectly, yes. Being wet and cold lowers your comfort, which can negatively impact your overall status. More importantly, a secure roof allows you to sleep safely. Sleeping in a enclosed, roofed structure restores sanity faster than sleeping in the open or under a simple tarp.
Conclusion
Learning how to make a roof in Sons of the Forest is a rite of passage for every survivor on Site 2. It transforms a fragile collection of sticks into a formidable fortress. By following the steps outlined above—starting with a solid foundation, using proper ridge beams, and choosing the right materials—you can ensure your shelter withstands both the torrential rains and the nightly horrors.
Remember, practice makes perfect. Don’t be afraid to experiment with different shapes and materials as you gather more resources. A well-built roof not only keeps you dry but also gives you the peace of mind needed to plan your next expedition into the caves.
Did this guide help you secure your base? Share your biggest building fails or successes on social media and tag us! Happy building, and stay safe out there.