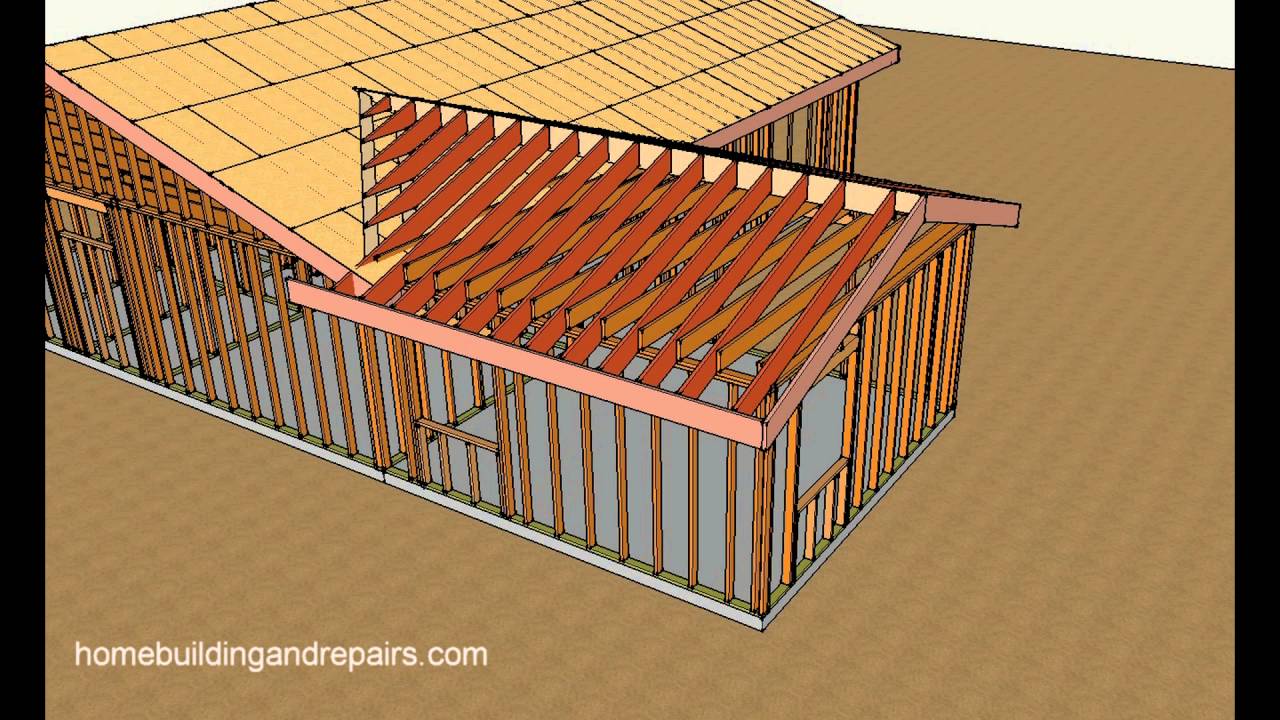
Adding space to your home is an exciting milestone, but it brings a complex construction challenge: connecting the new structure to the old one. If done incorrectly, this junction becomes the most vulnerable point for water intrusion, leading to costly interior damage and mold growth. Understanding how to tie in a roof to an existing roof is critical for ensuring the longevity and structural integrity of your home expansion.
This guide will walk you through the professional standards required to create a watertight seal between two roof planes. Whether you are hiring a contractor or managing the project yourself, knowing the correct methodology ensures your investment remains protected against the elements.
Why Proper Roof Integration Matters
Before diving into the tools and techniques, it is essential to understand why this specific task requires precision. A roof is not just a covering; it is a system designed to shed water efficiently. When you interrupt that system with an addition, you create a “valley” or a intersection where water flow changes direction.
According to industry data, improper flashing accounts for over 90% of roof leaks in residential additions. The goal is not just to cover the gap, but to integrate the new roofing materials with the existing ones so that they function as a single, cohesive unit. This involves matching pitch, aligning underlayment, and installing multi-layered flashing systems that adhere to local building codes.
Step-by-Step Guide: How to Tie In a Roof to an Existing Roof
Tying in a new roof section is not a simple matter of nailing down shingles next to old ones. It requires a systematic approach to ensure durability. Here is the professional workflow used by experienced roofers.
1. Assess Structural Compatibility and Pitch
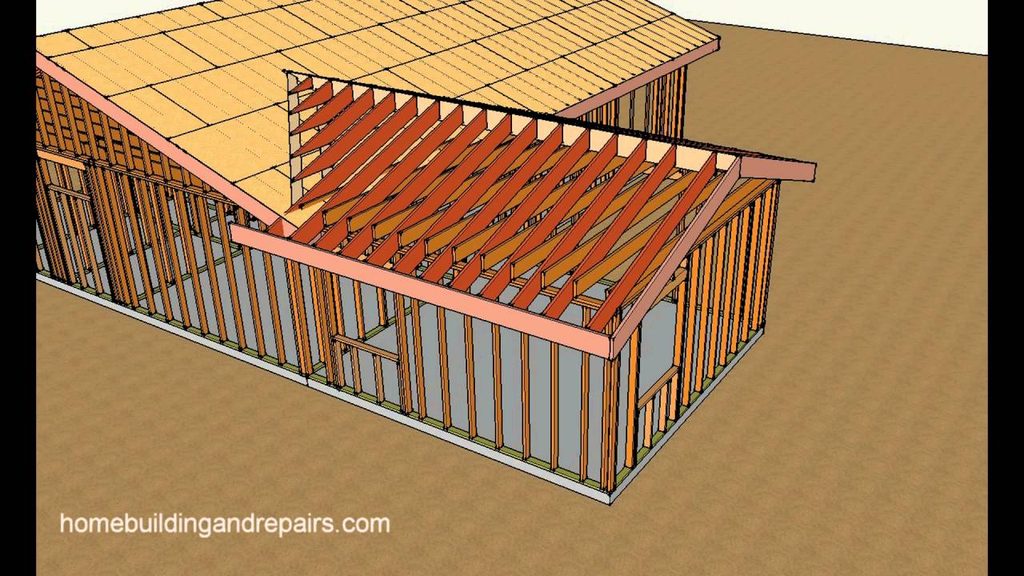
The first step is determining if the new roof can physically connect to the old one. The ideal scenario is when both roofs share the same pitch (slope). If the pitches differ significantly, you will need to construct a hip or valley, which complicates the waterproofing process.
- Same Pitch: Allows for a straightforward ridge-to-ridge or side-wall tie-in.
- Different Pitch: Requires custom framing and specialized flashing to manage water runoff speed differences.
Ensure your local building department approves the structural load. The existing wall must be able to support the new roof’s weight and any potential snow loads.
2. Prepare the Existing Roof Surface
You cannot simply build over dirty or damaged shingles. Preparation is key to adhesion and longevity.
- Remove Shingles: Carefully remove the shingles from the area where the new roof will intersect. Typically, you need to clear a strip at least 12–18 inches wide along the connection line.
- Inspect Decking: Check the exposed roof deck (plywood or OSB) for rot, soft spots, or water damage. Replace any compromised sections immediately.
- Clean the Area: Sweep away all debris, nails, and granules. A clean surface ensures that underlayment adhesives bond correctly.
3. Install Ice and Water Shield
In cold climates, ice dams are a major threat. Even in warmer regions, an ice and water protective membrane provides an extra layer of security at critical junctions.
Apply a self-adhering rubberized asphalt membrane over the exposed decking and extend it up the vertical wall of the existing structure (if applicable) by at least 6 inches. This layer acts as a secondary barrier if water gets past the shingles.
4. Apply High-Quality Underlayment
Once the membrane is in place, install your synthetic or felt underlayment. Overlap the new underlayment with the existing roof’s underlayment by at least 4–6 inches.
- Pro Tip: Use roofing cement or compatible adhesive tape to seal the overlap edge. This prevents wind-driven rain from getting underneath the layers.
5. Install Step Flashing or Valley Metal
This is the most critical step in learning how to tie in a roof to an existing roof. Flashing directs water away from the joint.
- For Side-Wall Tie-Ins: Use step flashing. These are L-shaped metal pieces (usually aluminum or galvanized steel) that are woven into each course of shingles. Each piece should overlap the previous one by at least 2 inches.
- For Valley Intersections: Install a W-valley metal or closed-cut valley lining. Ensure the metal extends under the existing shingles and over the new underlayment.
Note: Never use caulk as the primary waterproofing method. Caulk dries out and cracks over time. Mechanical overlapping and proper flashing are the only reliable long-term solutions. For more details on roofing materials and standards, you can refer to general construction principles on Wikipedia.
6. Weave in the New Shingles
Now, you integrate the new shingles with the old ones.
- Start from the bottom and work your way up.
- If using step flashing, place a shingle, then slide the next piece of flashing under the shingle above it.
- Nail the shingles securely, but ensure nails do not penetrate the flashing below.
- Trim the existing shingles if necessary to create a clean line, but avoid cutting into the structural integrity of the old roof.
7. Seal and Inspect
Once all shingles are installed, apply a small bead of roofing sealant under the edges of any cut shingles. However, rely primarily on the physical overlap. Conduct a water test if possible, or wait for the next rainstorm to inspect for leaks from the inside attic space.
Common Mistakes to Avoid
Even seasoned DIYers can stumble on these pitfalls. Avoiding them saves time and money.
| Mistake | Consequence | Solution |
|---|---|---|
| Nailing through flashing | Creates immediate leak paths | Always nail above the flashing piece, never through it. |
| Ignoring ventilation | Traps heat and moisture | Ensure soffit and ridge vents are continuous across the tie-in. |
| Using mismatched materials | Uneven wear and aesthetic issues | Try to match shingle brand and color; if unavailable, use a contrasting accent deliberately. |
| Skipping ice/water shield | High risk of ice dam leakage | Always use membrane at intersections, regardless of climate zone. |
Frequently Asked Questions (FAQ)
1. Can I tie in a new roof without removing existing shingles?
While it is technically possible to flash over existing shingles, it is not recommended. Building codes in most US jurisdictions require removing shingles at the intersection to inspect the deck and ensure proper underlayment integration. Skipping this step voids warranties and increases leak risks.
2. What is the best material for roof flashing?
Aluminum is the most common choice due to its cost-effectiveness and resistance to rust. However, copper is superior for longevity and aesthetics, though it is significantly more expensive. Galvanized steel is also an option but requires painting to prevent corrosion over time.
3. Do I need a permit to tie in a new roof section?
Yes, almost certainly. Adding square footage or altering the structural load of your home requires a building permit. Local inspectors will check the framing, flashing, and electrical connections. Failing to pull a permit can lead to fines and issues when selling your home.
4. How long does it take to tie in a roof?
For a professional crew, a standard side-wall tie-in might take 1–2 days. For a DIYer, it could take 3–5 days depending on weather, complexity, and experience level. Rushing this process often leads to errors.
5. What if the existing roof is old and brittle?
If the existing shingles are near the end of their life (15+ years), consider replacing the entire roof section adjacent to the addition. Tying new, flexible shingles into old, brittle ones is difficult and may cause the old shingles to crack during installation.
Conclusion
Learning how to tie in a roof to an existing roof is about more than just carpentry; it is about mastering water management. By following the steps outlined above—preparing the surface, installing robust underlayment, and weaving in proper flashing—you create a durable, leak-free connection that protects your home for decades.
Remember, while DIY is rewarding, roofing involves significant safety risks and technical nuances. If you are unsure about structural loads or complex flashing details, consulting a licensed professional is a wise investment.
Did you find this guide helpful? Share it with your friends on social media who might be planning their own home expansions, and let us know in the comments if you have any questions about your specific roofing project!