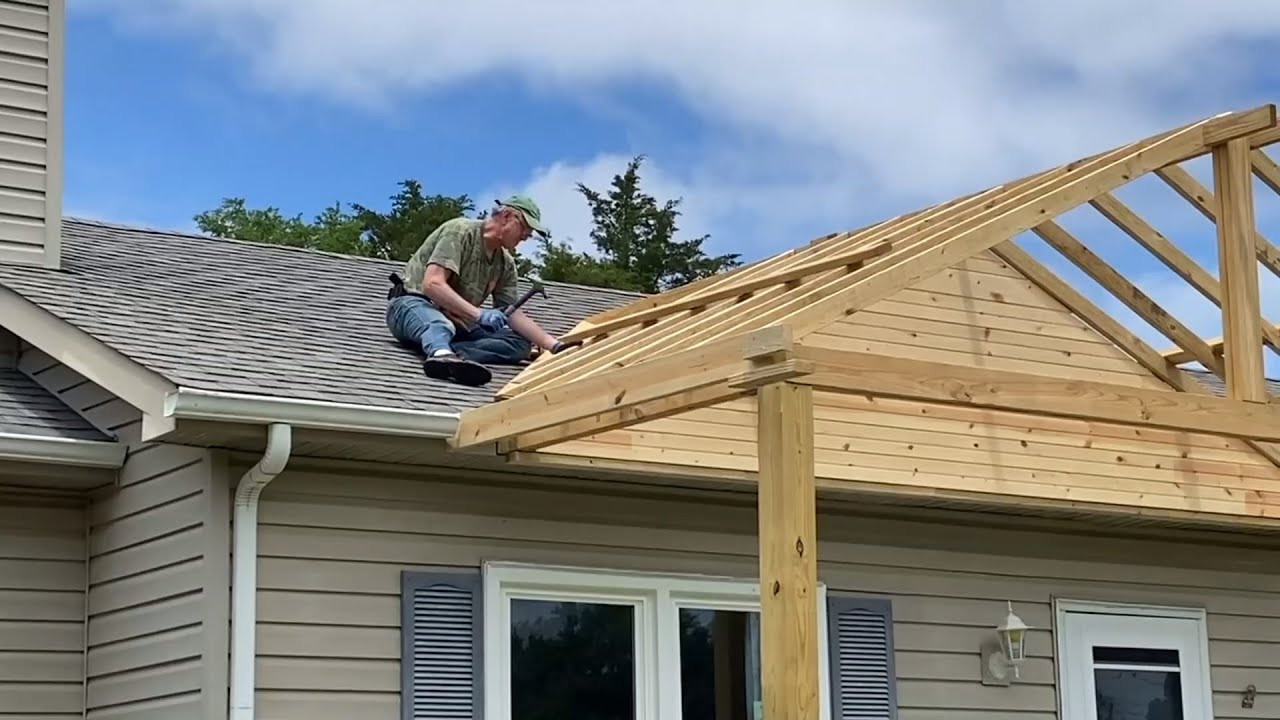
Replacing your home’s exterior is one of the most significant investments you can make as a homeowner. It protects your family from the elements, boosts curb appeal, and significantly increases property value. However, staring at an empty bank account while looking at weathered shingles or cracked vinyl can be stressful. If you are asking, “How Much Does It Cost To Replace Roof And Siding,” you are not alone. This guide breaks down the real numbers for 2026, helping you budget with confidence and avoid costly surprises.
Understanding the Total Investment: Roof and Siding Combined
When tackling both projects simultaneously, many homeowners hope for a bulk discount. While contractors may offer slight savings on labor mobilization since they are already on-site, the material costs remain distinct. Generally, replacing both the roof and siding for an average-sized American home (approximately 2,000 square feet) ranges between $25,000 and $45,000.
This wide range exists because “roof” and “siding” are broad categories. A basic asphalt shingle roof with vinyl siding sits at the lower end, while a slate roof with fiber cement or wood siding pushes the price toward the higher end. Understanding these variables is crucial for setting a realistic budget.
Pro Tip: Always get at least three detailed quotes. Ensure each quote breaks down material costs, labor, waste removal, and permits separately. This transparency allows you to compare apples to apples.
How Much Does It Cost to Replace a Roof in 2026?
The roof is your home’s first line of defense. In 2026, material prices have stabilized post-pandemic but remain influenced by supply chain nuances and fuel costs for transportation.
Average Costs by Material
| Material Type | Cost per Square Foot | Avg. Total Cost (2,000 sq ft home) | Lifespan |
|---|---|---|---|
| Asphalt Shingles | $3.50 – $5.50 | $7,000 – $11,000 | 15–25 Years |
| Metal Roofing | $7.00 – $12.00 | $14,000 – $24,000 | 40–70 Years |
| Clay/Concrete Tile | $10.00 – $18.00 | $20,000 – $36,000 | 50+ Years |
| Wood Shakes | $6.00 – $9.00 | $12,000 – $18,000 | 20–30 Years |
| Slate | $15.00 – $30.00+ | $30,000 – $60,000+ | 75–100+ Years |
Note: These estimates include materials and professional installation but exclude structural repairs.
Factors Influencing Roof Cost
- Roof Pitch and Complexity: A steep, multi-gabled roof requires more safety equipment, time, and skill than a simple gable roof. Expect to pay 10–20% more for complex architectures.
- Underlayment Quality: Don’t skimp here. High-quality synthetic underlayment costs more upfront but prevents ice dams and water intrusion better than traditional felt paper.
- Removal of Old Materials: Most quotes include “tear-off” costs. If you have multiple layers of old roofing, disposal fees will increase.
For deeper technical definitions of roofing materials and their historical development, you can refer to Wikipedia’s entry on Roofing. This resource provides excellent background on how material science has evolved, which helps explain why modern options like metal and composite are gaining popularity despite higher initial costs.
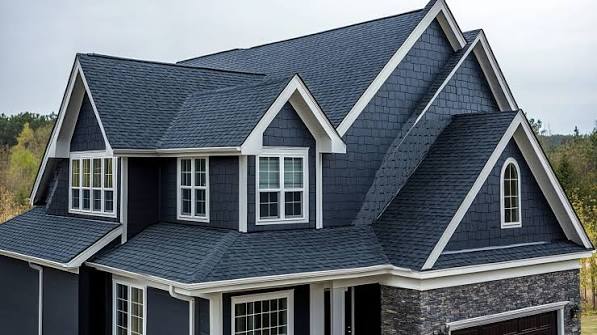
How Much Does It Cost to Install New Siding?
Siding covers the vertical walls of your home. The cost varies dramatically based on the material’s durability, aesthetic appeal, and insulation properties.
Average Costs by Material
| Material Type | Cost per Square Foot | Avg. Total Cost (2,000 sq ft home) | Maintenance Level |
|---|---|---|---|
| Vinyl | $2.50 – $8.00 | $5,000 – $16,000 | Low |
| Fiber Cement | $6.00 – $12.00 | $12,000 – $24,000 | Medium |
| Engineered Wood | $4.50 – $9.00 | $9,000 – $18,000 | Medium |
| Brick Veneer | $10.00 – $20.00 | $20,000 – $40,000 | Very Low |
| Natural Wood | $8.00 – $15.00+ | $16,000 – $30,000+ | High |
Why Fiber Cement is Gaining Ground
In 2026, fiber cement (such as James Hardie) remains a top choice for US homeowners. It offers the look of wood without the rot risk and withstands harsh weather better than vinyl. While the upfront cost is higher than vinyl, its longevity and resistance to fire and pests often justify the investment for those planning to stay in their homes long-term.
Can You Save Money by Doing Both Projects Together?
Yes, but the savings are primarily logistical rather than material-based.
- Reduced Mobilization Fees: Contractors charge for setting up scaffolding, dumpsters, and safety barriers. Doing both jobs at once means paying these setup fees only once.
- Better Coordination: The roofer and siding installer can coordinate flashing details where the roof meets the wall. Poor coordination here is a leading cause of leaks. When one company handles both, or when teams communicate closely, the risk of future water damage drops significantly.
- Negotiating Power: You are a bigger customer when you bundle services. Use this leverage to ask for waived permit fees or upgraded gutters included in the package.
However, do not expect a 50% discount. Material costs are fixed by manufacturers. Realistic savings range from 5% to 10% of the total labor cost.
Hidden Costs to Watch Out For
Budgeting for just the materials and labor is a common mistake. Here are the hidden costs that often catch homeowners off guard:
- Structural Repairs: Once the old siding and roof are removed, contractors may find rotted sheathing, damaged rafters, or mold. Set aside a 10–15% contingency fund for these unexpected repairs.
- Permits: Local municipalities require permits for exterior work. Costs vary by county but typically range from $200 to $1,000.
- Dumpster Fees: Disposing of old construction debris is expensive. Heavy materials like tile or brick weigh more, leading to higher disposal fees.
- Landscaping Protection: Heavy equipment and falling debris can damage your lawn, shrubs, or driveway. Factor in the cost of protective plywood or professional landscaping restoration if necessary.
Step-by-Step Guide to Budgeting Your Project
Follow these steps to create a precise budget for your roof and siding replacement:
- Measure Your Home: Calculate the square footage of your roof (including overhangs) and the exterior walls. Subtract areas for windows and doors.
- Choose Your Materials: Decide on the tier of quality. For example, choose between architectural shingles vs. 3-tab shingles, or insulated vinyl vs. standard vinyl.
- Get Three Quotes: Contact licensed, insured local contractors. Ask for references from jobs completed in the last six months.
- Check for Insurance Coverage: If your roof damage was caused by a recent storm (hail, wind), check your homeowner’s insurance policy. You might only need to pay your deductible.
- Finalize the Contract: Ensure the contract specifies start/end dates, payment schedule, warranty details, and cleanup procedures. Never pay the full amount upfront.
Frequently Asked Questions (FAQ)
1. Does homeowners insurance cover roof and siding replacement?
Insurance typically covers damage caused by “acts of God” like hail, windstorms, or falling trees. It does not cover wear and tear, age-related deterioration, or lack of maintenance. Always document damage with photos and file a claim promptly after a storm.
2. How long does it take to replace both roof and siding?
For an average-sized home, expect the project to take 1 to 3 weeks. Weather delays are common, so build flexibility into your schedule. Complex homes or custom materials may take longer.
3. Should I replace the roof or siding first?
Ideally, do them simultaneously. If you must stagger them, replace the roof first. This ensures that the roofing drip edge and flashing are properly installed over the new siding, preventing water from getting behind the siding panels.
4. What is the best time of year to replace roof and siding?
Late spring through early fall is peak season due to favorable weather. However, scheduling in late winter or early spring might yield better pricing and faster availability, provided temperatures are above freezing for proper sealant adhesion.
5. Do I need a permit to replace my roof and siding?
In most US jurisdictions, yes. Structural changes and exterior cladding replacements usually require building permits to ensure compliance with local codes and wind/load standards. Your contractor should handle this process.
6. How does new roofing and siding affect home value?
According to real estate data, new siding can recoup 70–80% of its cost in resale value, while a new roof can recoup 60–70%. More importantly, it significantly reduces time on the market, as buyers prefer homes with major systems recently updated.
Conclusion
Knowing how much does it cost to replace roof and siding empowers you to make smart financial decisions. While the initial price tag of $25,000 to $45,000+ may seem steep, view it as a long-term investment in your home’s integrity and value. By choosing the right materials, hiring reputable contractors, and planning for hidden costs, you can achieve a beautiful, durable exterior that stands the test of time.
Don’t let the complexity overwhelm you. Start with small steps: measure your home, research materials, and reach out to local pros. Your future self—and your future buyers—will thank you.
Found this guide helpful? Share it with your neighbors on Facebook or Pinterest who might be facing similar home improvement projects!