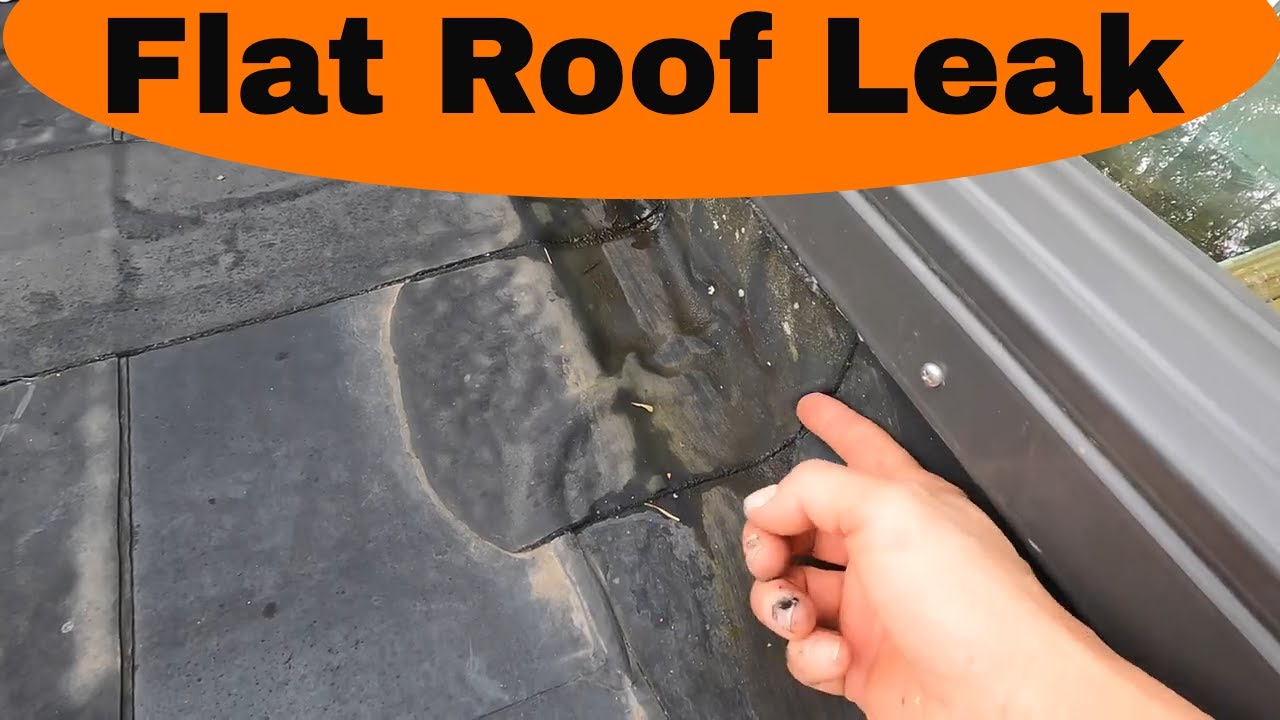
Tag: DIY Roofing

  • Fix Flat Roof Leaks: A DIY Guide

    Fix Flat Roof Leaks: A DIY Guide

    Water dripping from your ceiling is more than just an annoyance; it is a ticking time bomb for your home’s structural integrity and indoor air quality. If you are staring at a stain on your drywall or hearing the dreaded drip-drip sound, you likely need to know how to fix a roof leak on a flat roof before minor moisture turns into major mold remediation.

    Flat roofs are common in modern architecture and commercial buildings across the US, but they come with unique challenges. Unlike sloped roofs that shed water quickly, flat roofs rely on precise drainage and impermeable membranes. When these fail, water pools, leading to accelerated degradation. This guide will walk you through identifying the source, choosing the right materials, and executing a lasting repair, empowering you to handle this task with confidence.

    Why Do Flat Roofs Leak? Understanding the Root Cause

    Before applying any patch, it is crucial to understand why the leak occurred. Flat roofs do not leak because of gravity pulling water through shingles; they leak due to membrane failure, poor drainage, or installation errors.

    According to industry data, over 90% of flat roof leaks originate from penetrations (vents, pipes, HVAC units) or seams rather than the open field of the roof. Understanding the material type is also essential. Common flat roofing materials include:

    • EPDM (Ethylene Propylene Diene Monomer): A synthetic rubber known for durability.
    • TPO (Thermoplastic Polyolefin): A reflective, heat-weldable membrane.
    • Modified Bitumen: Asphalt-based rolls often used in colder climates.
    • Built-Up Roofing (BUR): Multiple layers of asphalt and felts.

    If you are unsure of your roof type, consult a professional or check previous maintenance records. Misidentifying the material can lead to using incompatible adhesives, causing the repair to fail within months. For a deeper understanding of roofing materials, you can refer to general construction standards on Wikipedia.

    Step 1: Locating the Leak Accurately

    Finding the exact entry point is the most challenging part of flat roof repair. Water travels horizontally under the membrane before dripping down, meaning the stain on your ceiling is rarely directly below the hole.

    The Hose Test Method

    If the leak is not obvious during rain, perform a controlled hose test:

    1. Safety First: Ensure the roof is dry and safe to walk on. Use a harness if the pitch is steep near the edges.
    2. Section Off Areas: Have a helper inside mark where water appears.
    3. Start Low: Begin spraying water at the lowest point of the roof near the suspected area.
    4. Move Up Gradually: Spray each section for 5–10 minutes. If no leak appears, move up the slope.
    5. Pinpoint the Source: Once water appears inside, mark that specific spot on the roof.

    Pro Tip: Look for “ponding water.” If water sits on your roof for more than 48 hours after rainfall, it accelerates membrane breakdown. Addressing drainage issues is part of the long-term fix.

    Step 2: Preparing the Surface for Repair

    A successful repair depends 80% on preparation and only 20% on the application of the patch. Dirt, algae, and loose granules prevent adhesives from bonding.

    1. Clear the Area: Remove any debris, leaves, or standing water around the leak.
    2. Clean Thoroughly: Use a stiff brush and a specialized roof cleaner or a mixture of mild detergent and water. For oily residues, use a degreaser.
    3. Dry Completely: The surface must be bone-dry. Moisture trapped under a patch will cause blistering and eventual failure. Use a leaf blower or wait for a sunny day.
    4. Trim Loose Edges: If the existing membrane is peeling, cut away the loose flaps with a utility knife to create a clean, stable edge.

    Step 3: Choosing the Right Repair Material

    Using the wrong product is a common DIY mistake. Here is a quick comparison to help you choose:

    Material TypeBest ForProsCons
    Liquid Rubber CoatingSmall cracks, seams, EPDMEasy to apply, flexible, seamlessRequires multiple coats, longer cure time
    Self-Adhesive Patch TapePunctures, small holes (<6 inches)Instant bond, no drying timeMay not adhere well to dirty/wet surfaces
    Torch-On MembraneModified Bitumen roofsExtremely durable, professional finishRequires open flame, high skill level
    TPO Welding StripTPO roofsCreates a molecular bond, very strongRequires special welding tool

    For most DIY homeowners dealing with EPDM or general punctures, a high-quality liquid rubber sealant or a self-adhesive EPDM patch kit is the safest and most effective choice.

    Step 4: Executing the Repair Step-by-Step

    Here is how to apply a standard patch repair using a liquid membrane or patch kit.

    For Small Punctures and Cracks

    1. Apply Primer: If using a liquid coating, apply a primer to the cleaned area. This enhances adhesion. Let it dry until tacky (usually 15–30 minutes).
    2. First Coat: Apply a generous layer of liquid rubber over the crack, extending at least 2 inches beyond the damage on all sides.
    3. Embed Mesh: For cracks wider than 1/8 inch, embed a piece of fiberglass mesh into the wet coat. This reinforces the repair and prevents future splitting.
    4. Second Coat: Once the first coat is touch-dry, apply a second layer over the mesh. Feather the edges to blend with the surrounding roof.

    For Larger Holes or Tears

    1. Cut the Patch: Cut a piece of matching membrane (EPDM or TPO) that is at least 3–4 inches larger than the hole on all sides. Round the corners to prevent peeling.
    2. Apply Adhesive: Apply contact cement to both the back of the patch and the roof surface. Wait for the adhesive to become tacky (check manufacturer instructions, usually 10–20 minutes).
    3. Position Carefully: Place the patch over the hole. Start from one side and roll it out to avoid air bubbles.
    4. Seal the Edges: Apply a bead of lap sealant around the entire perimeter of the patch. Smooth it with a putty knife to ensure a watertight seal.
    How To Fix A Roof Leak On A Flat Roof

    Maintenance Tips to Prevent Future Leaks

    Fixing the leak is only half the battle. Regular maintenance extends the life of your flat roof significantly.

    • Keep Drains Clear: Clogged scuppers or drains cause ponding water, which adds weight and degrades the membrane. Clean them twice a year.
    • Inspect After Storms: Check for new debris or displaced flashing after heavy winds.
    • Limit Foot Traffic: Walk only when necessary and wear soft-soled shoes. Consider installing walkway pads if you frequently access rooftop HVAC units.
    • Annual Professional Inspection: Even with DIY repairs, have a certified roofer inspect the roof every 2–3 years to catch underlying issues.

    Frequently Asked Questions (FAQ)

    How much does it cost to fix a flat roof leak?

    DIY repairs typically cost between $50 and $150 for materials like sealants and patches. Professional repairs range from $300 to $1,000 depending on the size of the leak and accessibility. Full roof replacement is significantly more expensive, often costing $5–$10 per square foot.

    Can I fix a flat roof leak in the rain?

    Generally, no. Most adhesives and coatings require a dry surface to bond properly. However, some emergency “wet patch” products exist for temporary stops. These are not permanent solutions and should be replaced with a proper repair once the weather clears.

    How long does a flat roof patch last?

    A properly applied patch using high-quality materials can last 5–10 years. However, the lifespan depends on UV exposure, temperature fluctuations, and foot traffic. Liquid rubber coatings tend to last longer than simple tape patches because they form a seamless barrier.

    Is it better to repair or replace a flat roof?

    If the roof is less than 15 years old and the leak is isolated, repair is cost-effective. If the roof is older, has multiple leaks, or shows widespread blistering and cracking, replacement is the better long-term investment. A rule of thumb: if repair costs exceed 50% of replacement cost, consider replacing.

    What is the best sealant for a flat roof?

    Polyurethane and silicone-based sealants are highly regarded for their flexibility and UV resistance. For EPDM roofs, specifically formulated EPDM liquid rubber is ideal. Always check compatibility with your existing roofing material.

    Conclusion

    Learning how to fix a roof leak on a flat roof is a valuable skill that can save you thousands in water damage restoration and premature roof replacement. By accurately locating the leak, preparing the surface meticulously, and using the right materials, you can achieve a professional-grade repair from your own toolkit.

    Remember, safety is paramount. If the leak is extensive, the roof is steep, or you feel uncomfortable working at heights, do not hesitate to call a licensed roofing contractor. A small investment in maintenance today ensures your home stays dry and secure for years to come.

    Found this guide helpful? Share it with your neighbors on social media to help them protect their homes too!
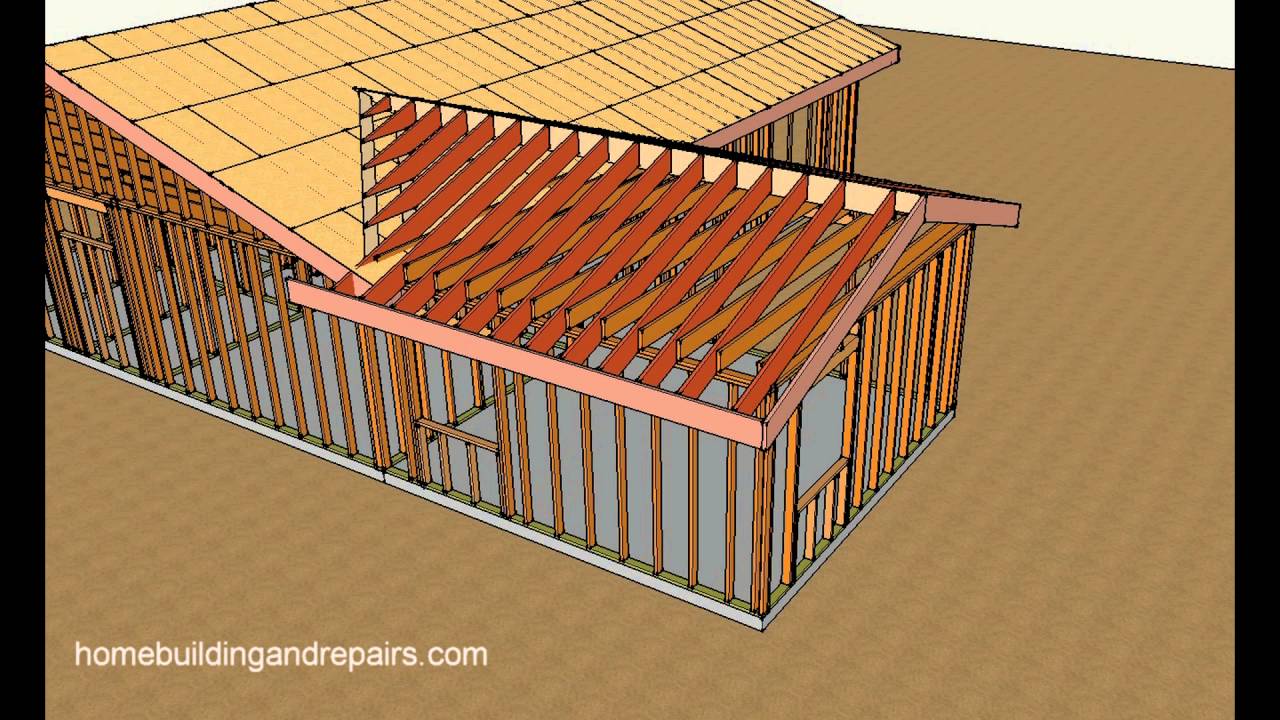
  • How to Tie In a Roof to an Existing Roof

    How to Tie In a Roof to an Existing Roof

    Adding space to your home is an exciting milestone, but it brings a complex construction challenge: connecting the new structure to the old one. If done incorrectly, this junction becomes the most vulnerable point for water intrusion, leading to costly interior damage and mold growth. Understanding how to tie in a roof to an existing roof is critical for ensuring the longevity and structural integrity of your home expansion.

    This guide will walk you through the professional standards required to create a watertight seal between two roof planes. Whether you are hiring a contractor or managing the project yourself, knowing the correct methodology ensures your investment remains protected against the elements.

    Why Proper Roof Integration Matters

    Before diving into the tools and techniques, it is essential to understand why this specific task requires precision. A roof is not just a covering; it is a system designed to shed water efficiently. When you interrupt that system with an addition, you create a “valley” or a intersection where water flow changes direction.

    According to industry data, improper flashing accounts for over 90% of roof leaks in residential additions. The goal is not just to cover the gap, but to integrate the new roofing materials with the existing ones so that they function as a single, cohesive unit. This involves matching pitch, aligning underlayment, and installing multi-layered flashing systems that adhere to local building codes.

    Step-by-Step Guide: How to Tie In a Roof to an Existing Roof

    Tying in a new roof section is not a simple matter of nailing down shingles next to old ones. It requires a systematic approach to ensure durability. Here is the professional workflow used by experienced roofers.

    1. Assess Structural Compatibility and Pitch

    The first step is determining if the new roof can physically connect to the old one. The ideal scenario is when both roofs share the same pitch (slope). If the pitches differ significantly, you will need to construct a hip or valley, which complicates the waterproofing process.

    • Same Pitch: Allows for a straightforward ridge-to-ridge or side-wall tie-in.
    • Different Pitch: Requires custom framing and specialized flashing to manage water runoff speed differences.

    Ensure your local building department approves the structural load. The existing wall must be able to support the new roof’s weight and any potential snow loads.

    2. Prepare the Existing Roof Surface

    You cannot simply build over dirty or damaged shingles. Preparation is key to adhesion and longevity.

    • Remove Shingles: Carefully remove the shingles from the area where the new roof will intersect. Typically, you need to clear a strip at least 12–18 inches wide along the connection line.
    • Inspect Decking: Check the exposed roof deck (plywood or OSB) for rot, soft spots, or water damage. Replace any compromised sections immediately.
    • Clean the Area: Sweep away all debris, nails, and granules. A clean surface ensures that underlayment adhesives bond correctly.

    3. Install Ice and Water Shield

    In cold climates, ice dams are a major threat. Even in warmer regions, an ice and water protective membrane provides an extra layer of security at critical junctions.

    Apply a self-adhering rubberized asphalt membrane over the exposed decking and extend it up the vertical wall of the existing structure (if applicable) by at least 6 inches. This layer acts as a secondary barrier if water gets past the shingles.

    4. Apply High-Quality Underlayment

    Once the membrane is in place, install your synthetic or felt underlayment. Overlap the new underlayment with the existing roof’s underlayment by at least 4–6 inches.

    • Pro Tip: Use roofing cement or compatible adhesive tape to seal the overlap edge. This prevents wind-driven rain from getting underneath the layers.

    5. Install Step Flashing or Valley Metal

    This is the most critical step in learning how to tie in a roof to an existing roof. Flashing directs water away from the joint.

    • For Side-Wall Tie-Ins: Use step flashing. These are L-shaped metal pieces (usually aluminum or galvanized steel) that are woven into each course of shingles. Each piece should overlap the previous one by at least 2 inches.
    • For Valley Intersections: Install a W-valley metal or closed-cut valley lining. Ensure the metal extends under the existing shingles and over the new underlayment.

    Note: Never use caulk as the primary waterproofing method. Caulk dries out and cracks over time. Mechanical overlapping and proper flashing are the only reliable long-term solutions. For more details on roofing materials and standards, you can refer to general construction principles on Wikipedia.

    6. Weave in the New Shingles

    Now, you integrate the new shingles with the old ones.

    1. Start from the bottom and work your way up.
    2. If using step flashing, place a shingle, then slide the next piece of flashing under the shingle above it.
    3. Nail the shingles securely, but ensure nails do not penetrate the flashing below.
    4. Trim the existing shingles if necessary to create a clean line, but avoid cutting into the structural integrity of the old roof.

    7. Seal and Inspect

    Once all shingles are installed, apply a small bead of roofing sealant under the edges of any cut shingles. However, rely primarily on the physical overlap. Conduct a water test if possible, or wait for the next rainstorm to inspect for leaks from the inside attic space.

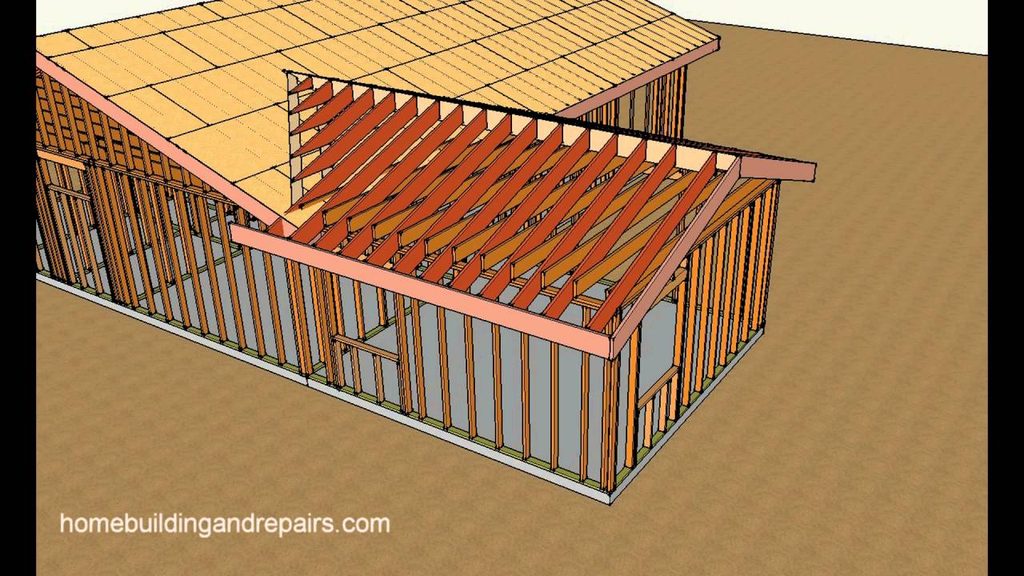
    How To Tie In A Roof To An Existing Roof

    Common Mistakes to Avoid

    Even seasoned DIYers can stumble on these pitfalls. Avoiding them saves time and money.

    MistakeConsequenceSolution
    Nailing through flashingCreates immediate leak pathsAlways nail above the flashing piece, never through it.
    Ignoring ventilationTraps heat and moistureEnsure soffit and ridge vents are continuous across the tie-in.
    Using mismatched materialsUneven wear and aesthetic issuesTry to match shingle brand and color; if unavailable, use a contrasting accent deliberately.
    Skipping ice/water shieldHigh risk of ice dam leakageAlways use membrane at intersections, regardless of climate zone.

    Frequently Asked Questions (FAQ)

    1. Can I tie in a new roof without removing existing shingles?

    While it is technically possible to flash over existing shingles, it is not recommended. Building codes in most US jurisdictions require removing shingles at the intersection to inspect the deck and ensure proper underlayment integration. Skipping this step voids warranties and increases leak risks.

    2. What is the best material for roof flashing?

    Aluminum is the most common choice due to its cost-effectiveness and resistance to rust. However, copper is superior for longevity and aesthetics, though it is significantly more expensive. Galvanized steel is also an option but requires painting to prevent corrosion over time.

    3. Do I need a permit to tie in a new roof section?

    Yes, almost certainly. Adding square footage or altering the structural load of your home requires a building permit. Local inspectors will check the framing, flashing, and electrical connections. Failing to pull a permit can lead to fines and issues when selling your home.

    4. How long does it take to tie in a roof?

    For a professional crew, a standard side-wall tie-in might take 1–2 days. For a DIYer, it could take 3–5 days depending on weather, complexity, and experience level. Rushing this process often leads to errors.

    5. What if the existing roof is old and brittle?

    If the existing shingles are near the end of their life (15+ years), consider replacing the entire roof section adjacent to the addition. Tying new, flexible shingles into old, brittle ones is difficult and may cause the old shingles to crack during installation.

    Conclusion

    Learning how to tie in a roof to an existing roof is about more than just carpentry; it is about mastering water management. By following the steps outlined above—preparing the surface, installing robust underlayment, and weaving in proper flashing—you create a durable, leak-free connection that protects your home for decades.

    Remember, while DIY is rewarding, roofing involves significant safety risks and technical nuances. If you are unsure about structural loads or complex flashing details, consulting a licensed professional is a wise investment.

    Did you find this guide helpful? Share it with your friends on social media who might be planning their own home expansions, and let us know in the comments if you have any questions about your specific roofing project!