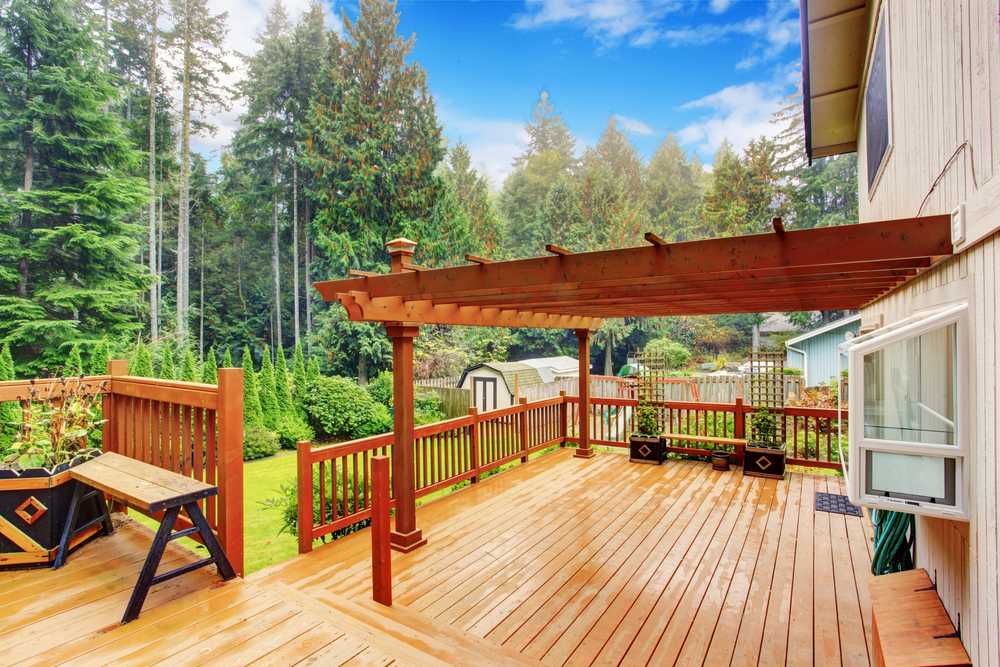
Imagine stepping out your back door into a shaded, comfortable retreat that feels like a natural extension of your home. For many homeowners, the lack of covered outdoor space limits their ability to enjoy fresh air during rain or intense sun. Learning how to build a roofed patio attached to the house solves this problem by creating a versatile area for dining, relaxing, and entertaining, regardless of the weather.
Building an attached structure is more complex than a standalone pergola because it integrates with your home’s existing framework. However, with careful planning and the right techniques, you can create a durable, beautiful addition that increases your property value. This guide will walk you through the essential steps, safety considerations, and design choices to ensure your project is a success.
Why Choose an Attached Roofed Patio?
Before picking up a hammer, it is crucial to understand why an attached structure might be the best choice for your property. Unlike detached gazebos, an attached patio leverages the structural integrity of your main house.
- Seamless Flow: It creates a smooth transition from indoor to outdoor living.
- Cost Efficiency: You save on materials by using one existing wall for support.
- Utility Access: It is easier to run electricity for fans, lights, or heaters from the main house.
According to recent real estate trends, outdoor living spaces can recoup up to 70-80% of their cost in home value upon resale. This makes your investment not just about comfort, but also financial prudence.
Step 1: Planning and Permits
The most critical step happens before you buy any lumber. Building codes vary significantly by municipality, and ignoring them can lead to fines or forced demolition.
Check Local Zoning Laws
Most areas require a building permit for permanent structures. You will need to submit:
- Site plans showing property lines.
- Structural drawings detailing beam sizes and footing depths.
- Proof of insurance or contractor licenses if hiring help.
Determine the Load Path
Your new roof must transfer weight safely to the ground. Since it is attached, part of the load goes to your house, and part goes to new posts. You must ensure your home’s rim joist and ledger board can handle this additional stress. If you are unsure, consult a structural engineer. This is non-negotiable for safety.
Step 2: Choosing the Right Materials
Durability and aesthetics go hand in hand. Here is a comparison of common roofing materials for attached patios:
| Material | Pros | Cons | Best For |
|---|---|---|---|
| Metal (Aluminum/Steel) | Lightweight, durable, modern look | Can be noisy in rain, industrial aesthetic | Modern homes, low maintenance |
| Asphalt Shingles | Matches main roof, affordable | Heavy, requires steep pitch for drainage | Traditional styles, seamless look |
| Polycarbonate Panels | Lets light in, lightweight | Can yellow over time, less privacy | Bright spaces, garden views |
| Wood Cedar/Shake | Natural beauty, insulates well | High maintenance, fire risk in some areas | Rustic or craftsman styles |
For the framing, pressure-treated pine is the standard for posts and beams due to its resistance to rot and insects. For a higher-end finish, consider cedar or redwood, which offer natural beauty but come at a premium price.
Step 3: Preparing the Foundation
A solid roof needs a solid base. If you already have a concrete slab, you may be able to anchor posts directly to it using specialized brackets. If not, you must pour new footings.
- Mark Post Locations: Measure carefully to ensure your posts align with the desired roof dimensions. Standard spacing is often 8 to 10 feet apart.
- Dig Holes: Dig holes below the frost line for your region. In colder US states, this might be 36–48 inches deep.
- Pour Concrete: Use quick-set concrete mix. Insert a post anchor bracket while the concrete is wet, ensuring it is perfectly plumb (vertical). Let it cure for at least 24–48 hours.
Pro Tip: Always use a laser level or a high-quality spirit level when setting anchors. A slight tilt now will cause major alignment issues when installing the roof beams later.
Step 4: Installing the Ledger Board
The ledger board is the horizontal piece of lumber that attaches to your house and supports one side of the roof rafters. This is the most technically sensitive part of how to build a roofed patio attached to the house.
- Flashings are Key: Water intrusion is the enemy. You must install a metal flashing strip behind the ledger board and another over the top edge to direct water away from your home’s siding.
- Secure Properly: Use lag screws or through-bolts, not just nails. Space them every 16 inches on center. Ensure you hit the house’s framing studs or rim joist, not just the sheathing.
- Slope for Drainage: The ledger board should be installed slightly higher than the outer beam to create a slope. A minimum slope of 1/4 inch per foot is recommended to ensure rainwater runs off efficiently.
For more detailed information on structural connections and safety standards, you can refer to general construction principles outlined on Wikipedia’s Framing page.
Step 5: Framing the Roof
Once the ledger and posts are secure, you can install the beams and rafters.
- Install the Outer Beam: Place a double-ply beam on top of your posts. Secure it with heavy-duty hurricane ties.
- Add Rafters: Cut rafters to length. They should rest on the ledger board and the outer beam. Standard spacing is 16 or 24 inches on center.
- Use Hurricane Ties: Metal connectors are essential here. They prevent the roof from lifting during high winds. Do not rely solely on nails or screws for structural hold.
Ensure all cuts are precise. Gaps between the rafter and the ledger can compromise structural integrity and allow pests to enter.
Step 6: Roofing and Finishing Touches
With the frame complete, it is time to add the covering.
- Sheathing: If using shingles, install plywood sheathing over the rafters.
- Underlayment: Apply a waterproof underlayment membrane. This is your second line of defense against leaks.
- Final Covering: Install your chosen material (shingles, metal panels, etc.). Follow the manufacturer’s instructions for overlap and fastening.
Don’t forget the aesthetics! Add soffits to hide the rafters if desired, and install gutters to manage water runoff. Paint or stain the wood to match your home’s exterior.
Common Mistakes to Avoid
- Ignoring Slope: A flat roof will pool water, leading to leaks and structural damage. Always maintain a slight pitch away from the house.
- Poor Flashing: Skipping proper flashing around the ledger board is the number one cause of water damage in attached structures.
- Undersizing Beams: Using lumber that is too thin for the span will result in a sagging roof. Consult span tables for your specific lumber type and load requirements.
FAQ Section
1. Do I need a permit to build a roofed patio attached to my house?
In most US jurisdictions, yes. Because the structure is permanent and attached to your home, it affects the structural load and safety. Always check with your local building department before starting.
2. How much does it cost to build a roofed patio?
Costs vary widely based on size and materials. On average, homeowners spend between $4,000 and $12,000. DIY projects can save on labor, which typically accounts for 50% of the total cost.
3. Can I attach the patio to vinyl siding?
Yes, but you must remove the siding where the ledger board will attach. The ledger must be bolted directly to the house’s framing, not the siding. Proper flashing is then required to seal the gap.
4. What is the best roofing material for a DIYer?
Corrugated metal or polycarbonate panels are often easier for DIYers because they are lightweight and come in large sheets. Shingles require more skill to install correctly to prevent leaks.
5. How do I ensure the patio doesn’t leak into my house?
The secret is in the flashing. Use a “Z-flashing” or step-flashing method where the roof meets the wall. Additionally, ensure the roof slope directs water away from the house, not toward it.
6. Can I add ceiling fans or lights to my new patio roof?
Absolutely. During the framing stage, plan for electrical runs. You can fish wires through the rafters or install junction boxes before closing up the ceiling. Always hire a licensed electrician for the final connections to meet code.
Conclusion
Learning how to build a roofed patio attached to the house is a rewarding project that blends structural engineering with creative design. By following these steps—planning carefully, securing proper permits, focusing on waterproofing, and choosing durable materials—you can create a safe and stylish outdoor sanctuary.
Remember, patience is key. Rushing the foundation or flashing stages can lead to costly repairs down the road. Take your time, measure twice, and cut once.
Did you find this guide helpful? Share it with your friends on social media who are planning their next home improvement project! Let’s inspire more homeowners to embrace outdoor living.